The chod rig gained popularity a few years ago, thanks to the efforts of Terry Hearn and Jim Shelley. Initially, there were mixed reviews about the rig, as some anglers believed that using a chod rig was an easy way out for those who lacked the skills to present a rig in challenging fishing situations.
However, the chod rig has proven its effectiveness, particularly when fishing over debris or weedy lake beds. In such conditions, it can be the only rig that allows for successful bait presentation. To assist you, here is a step-by-step tutorial on how to tie a chod rig.
How to Tie a Chod Rig in 5 Easy Steps
Step 1
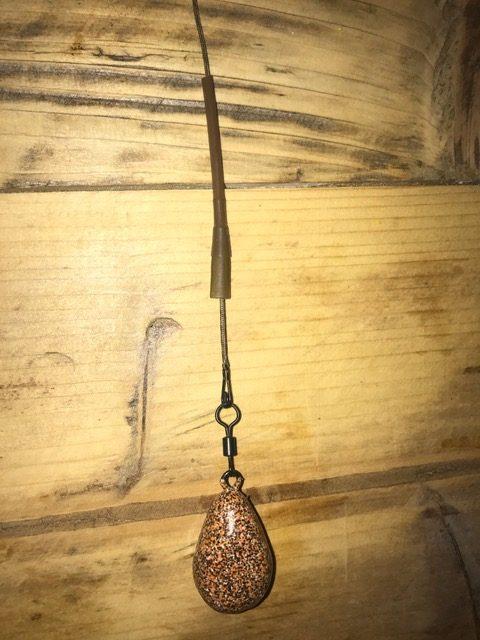
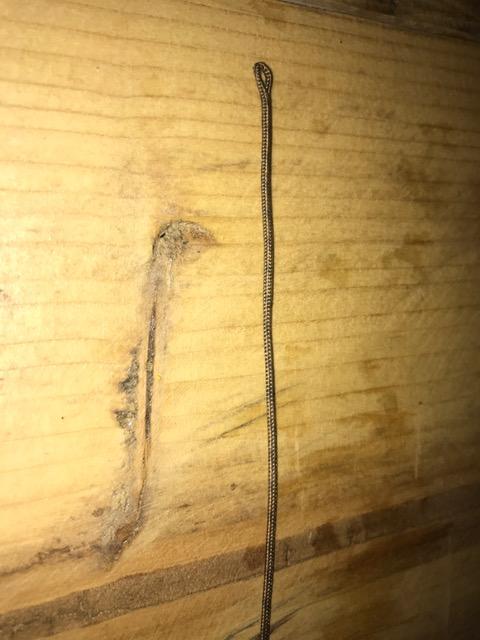
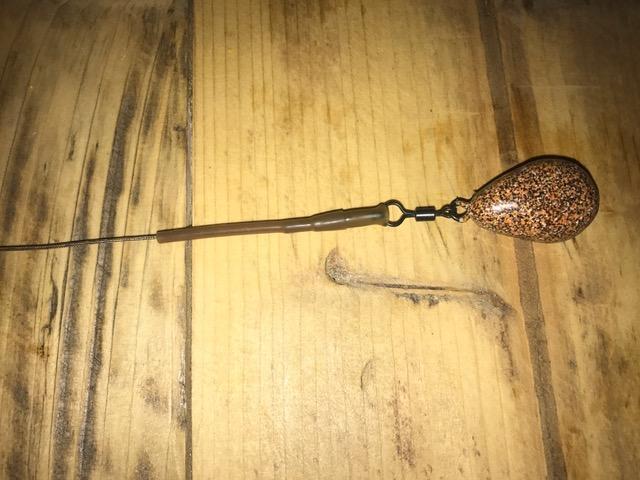
You have two options for using a leadcore chod safety system: either purchase a pre-made one or splice your own length of leadcore, approximately 120cm long, and create small loops at each end. Afterward, slide on a tail rubber and attach a metal lead clip, which will enable you to connect your lead to the rig. If you are fishing over heavy weed use the lightest lead that you can get away with.
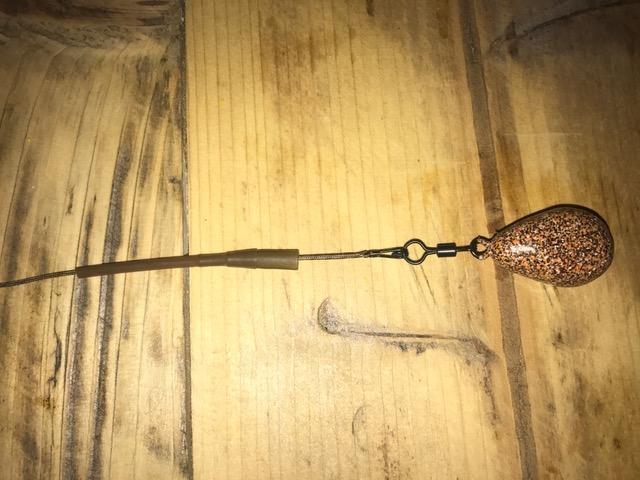
Next slide the tail rubber down over the metal lead clip.
Step 2
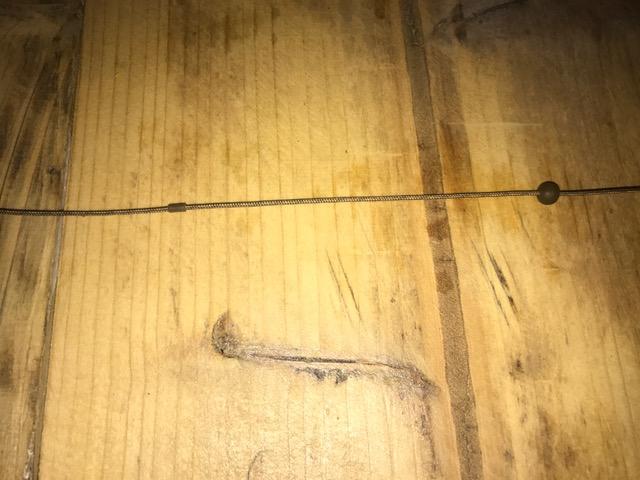
Completely slide off the top bead (the one farthest from the lead) along the length of the leadcore. It is of utmost importance that the beads, especially the top one, can smoothly slide off the rubber tubing beneath it with a slight amount of pressure.
It is critical that the beads slide off for the carp’s safety in the event of a break off.
Step 3
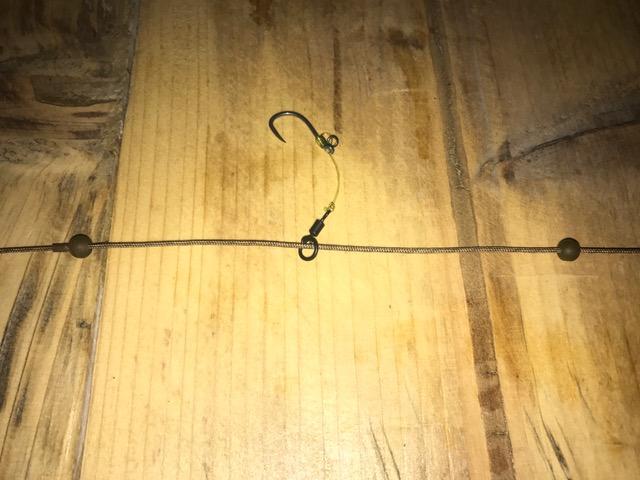
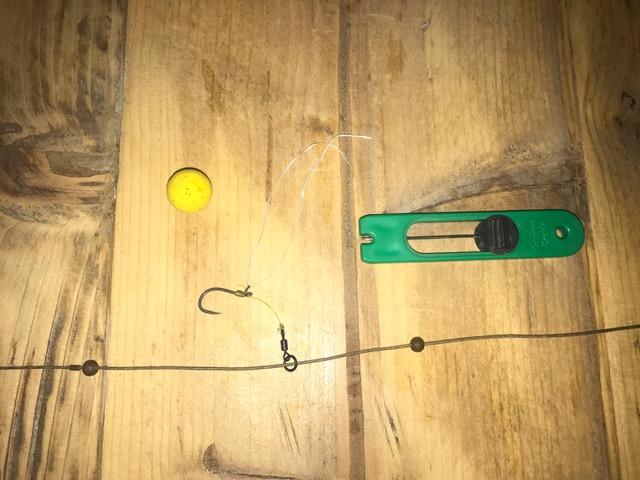
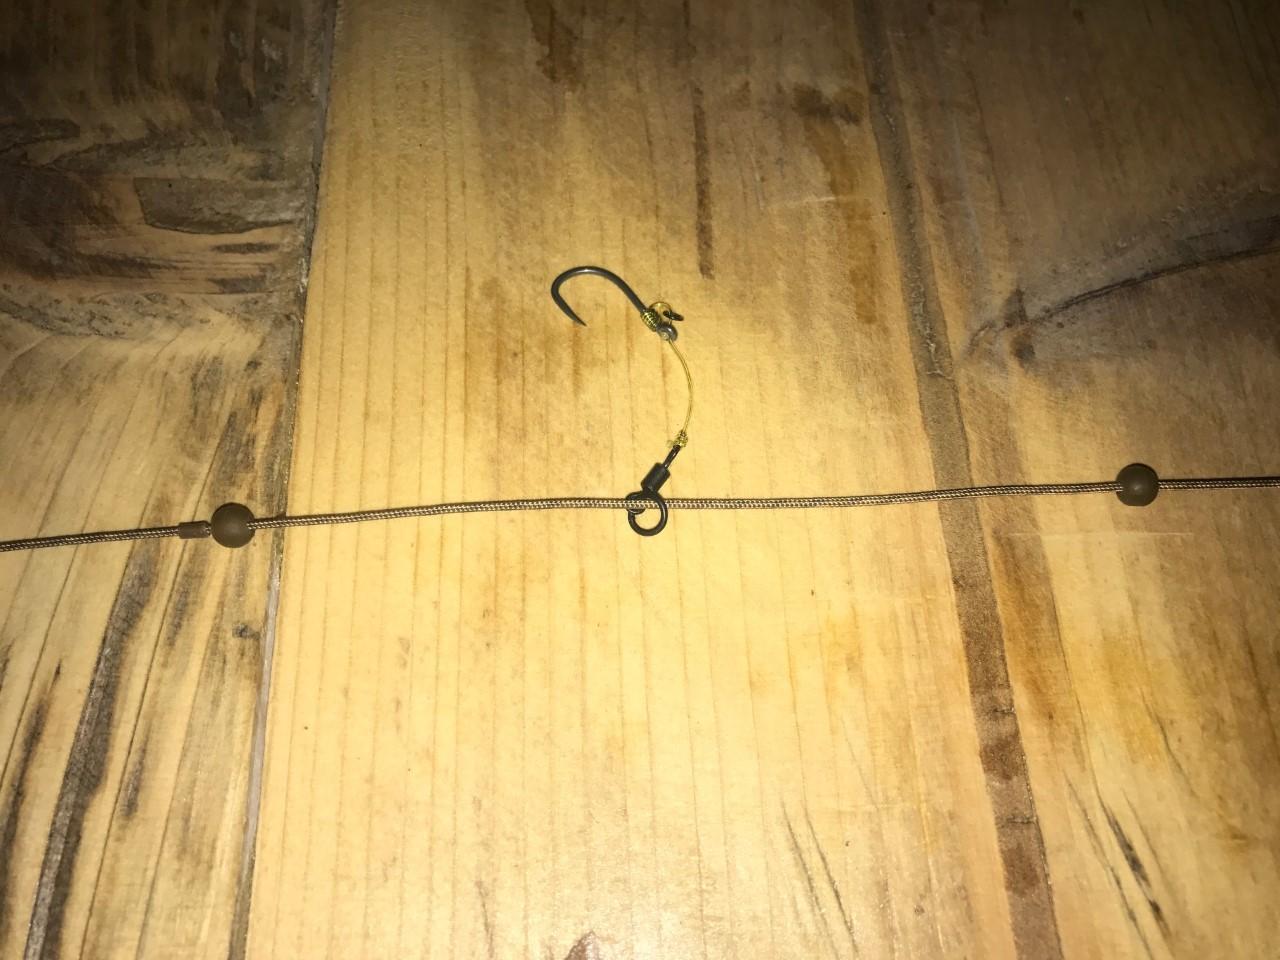
Take a pre-tied chod hooklink and slide it down the leadcore, ensuring that it sits between the remaining safety bead and the bead that you have removed.
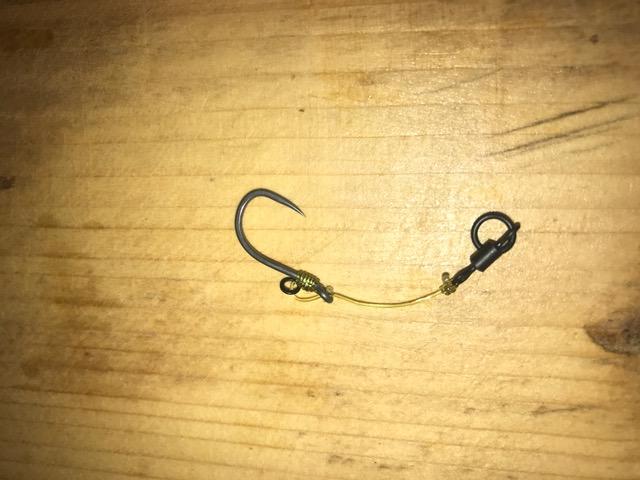
Now, there are two important aspects to note about the hook in this rig.
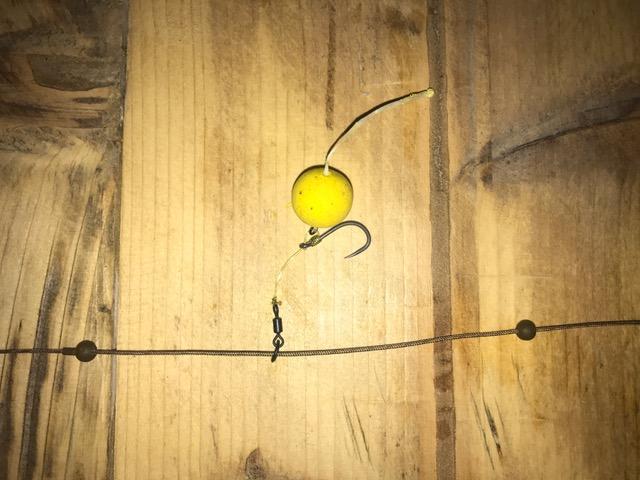
Firstly, the hook link material is intentionally curved, which plays a crucial role in the effectiveness of the chod rig’s hooking capabilities. If you opt to purchase pre-tied rigs, ensure that they come with a stiff link mono or bristle filament that maintains its curved shape once formed. Alternatively, if you prefer to make your own rigs, use a suitable stiff link material that retains its curvature.
Secondly, the hook is attached to a double swivel. This double swivel design allows the rig to freely rotate both in the water and within the mouth of the carp. This rotational movement makes it more challenging for the carp to dislodge or eject the rig.
Now, carefully slide the safety bead, which you had previously removed, back onto the rubber tubing of the leadcore, positioning it so that the hook is now situated between the two beads.
Step 4
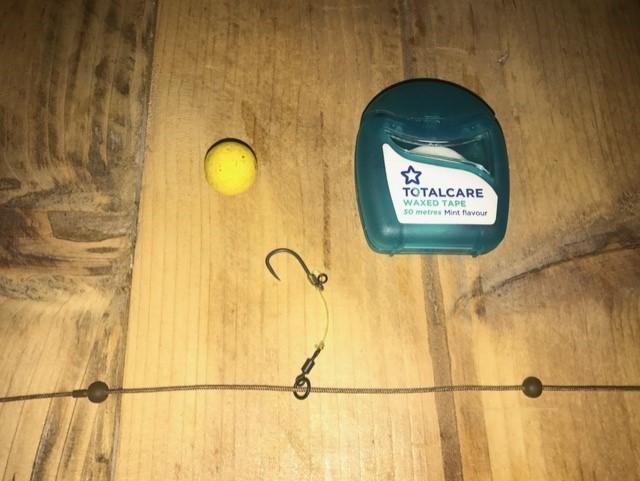
Take some baiting floss and fasten a buoyant pop-up to the metal ring that has been looped onto the line’s loop at the base of the hook shank. As you do this, you will begin to observe the rig’s mechanics coming together.
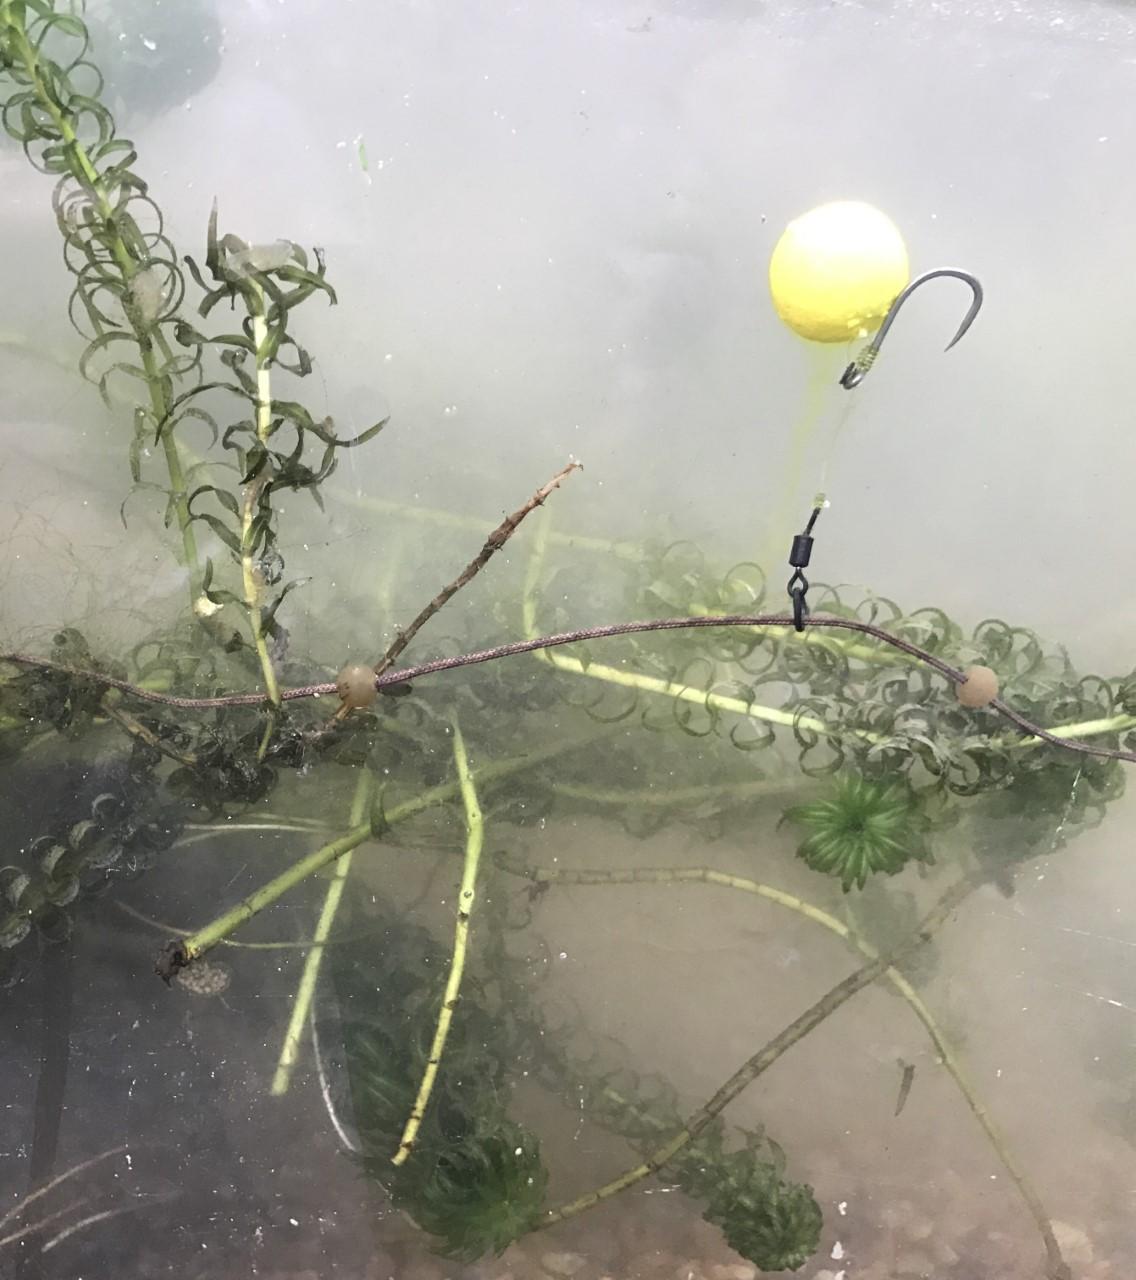
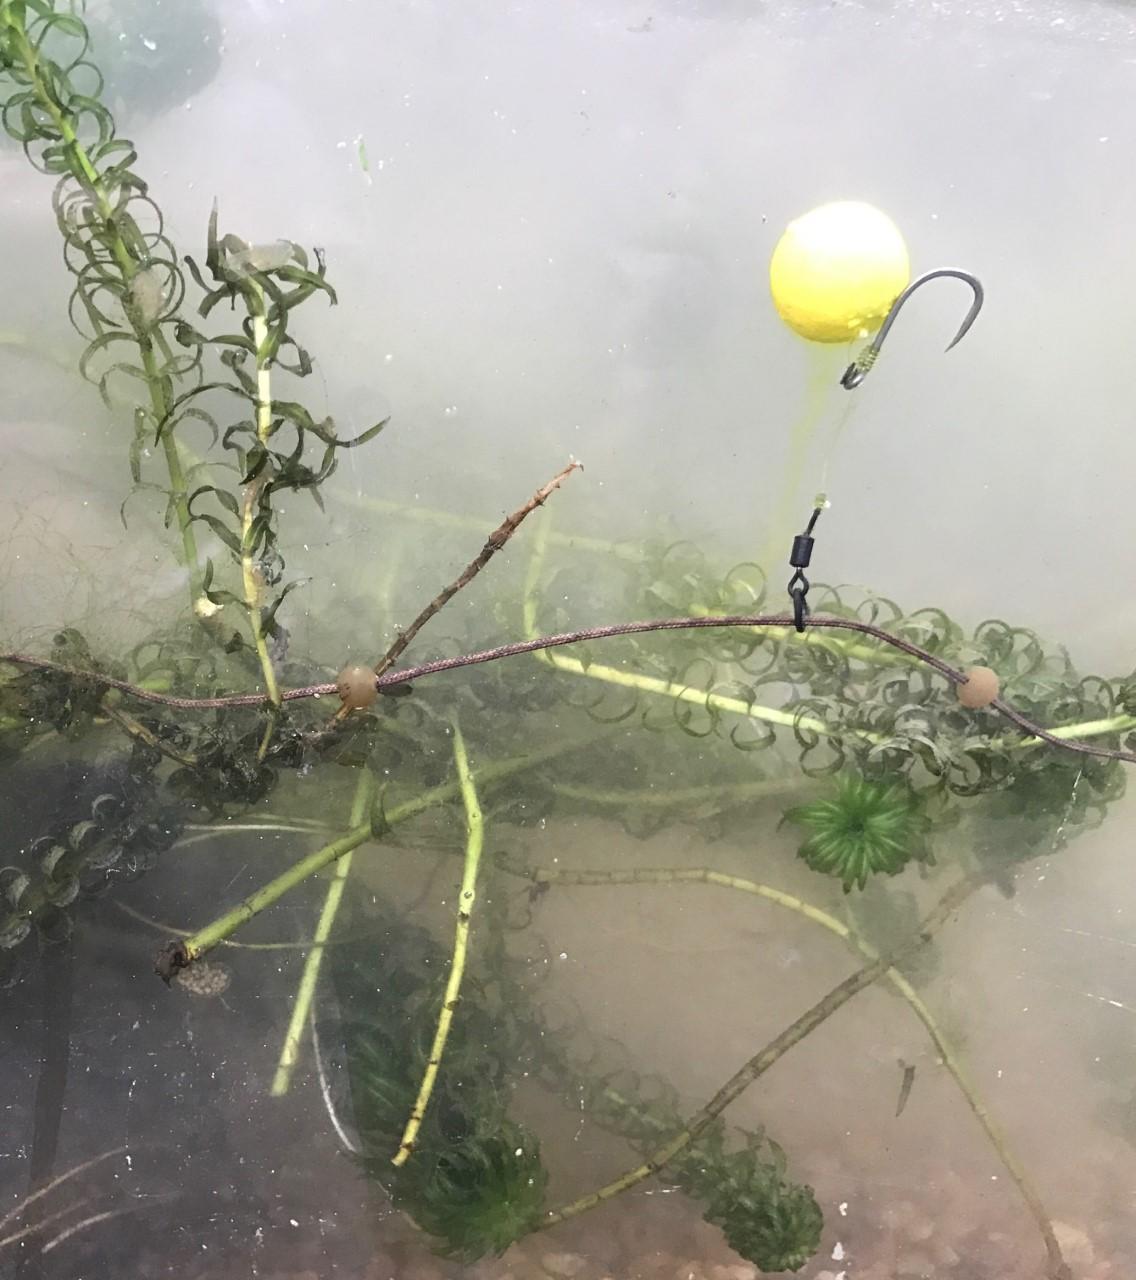
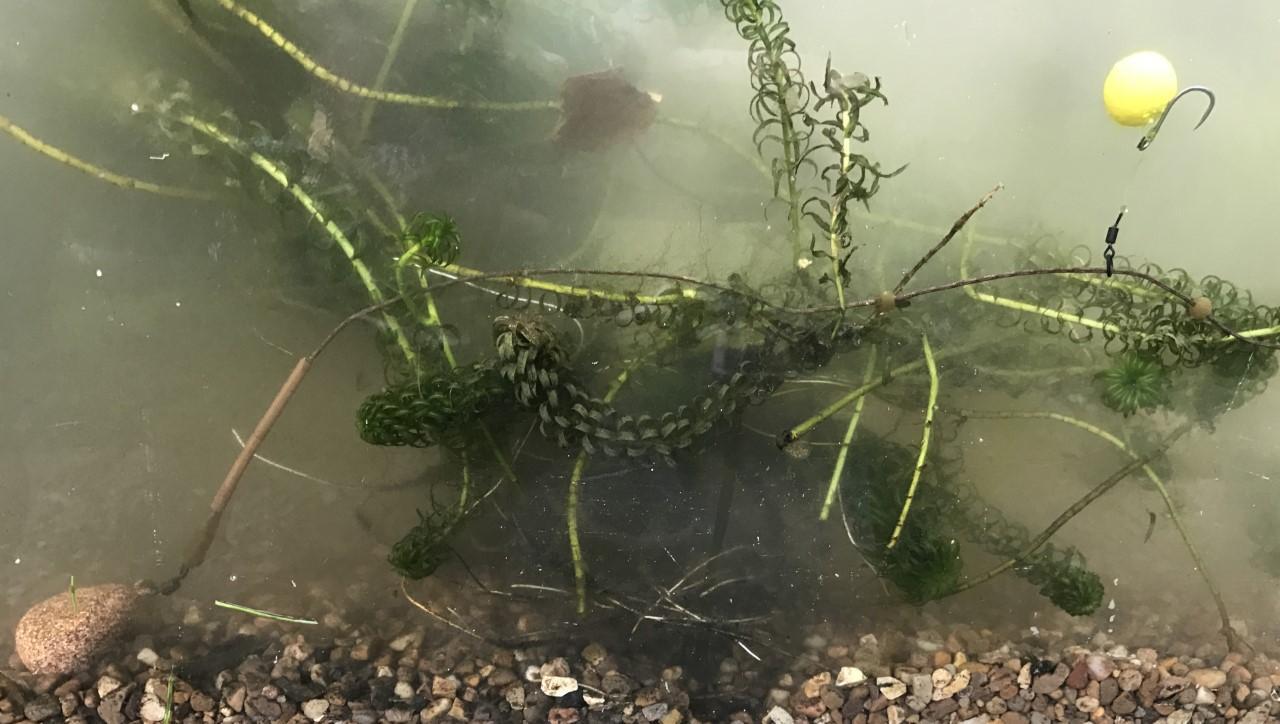
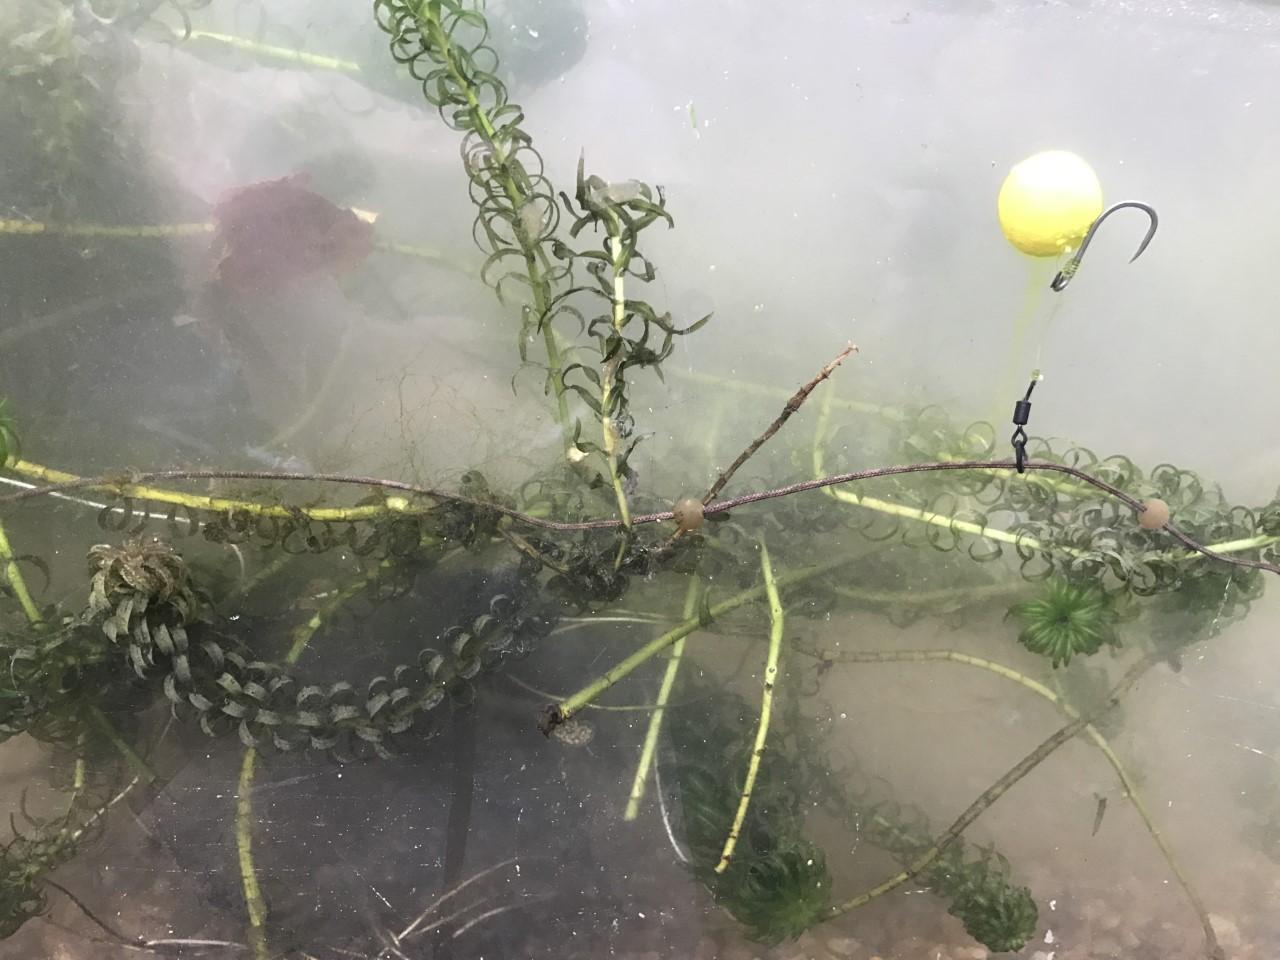
The positioning of the two beads relative to the lead can be adjusted based on your fishing conditions. If you are dealing with light debris, you might prefer to place the hook closer to the lead. On the other hand, if you are fishing over a foot or two of Canadian pond weed, it would be advisable to set the beads further away from the lead. This arrangement allows the hook and boilie to rest atop the weed surface.
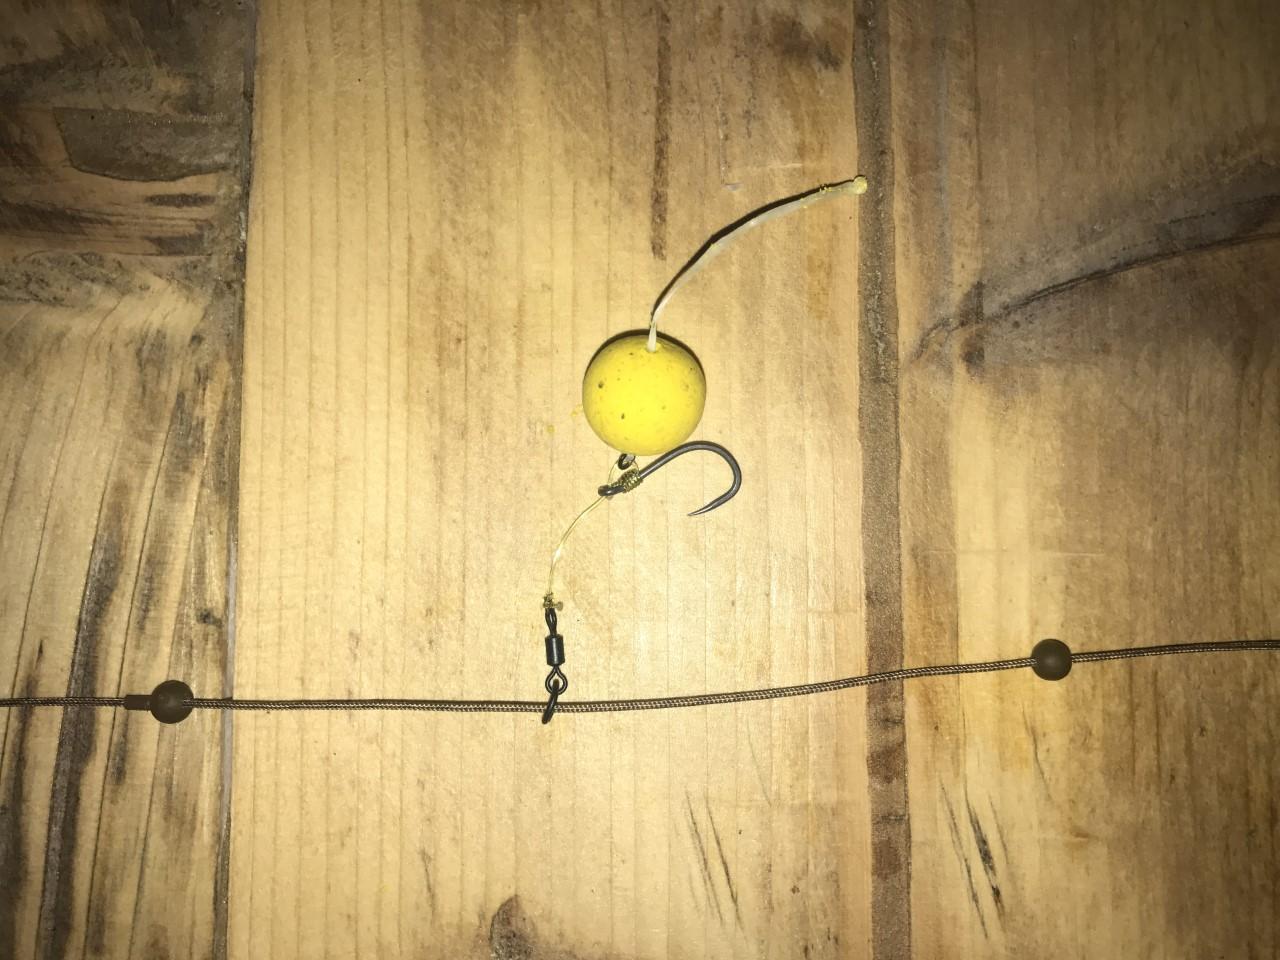
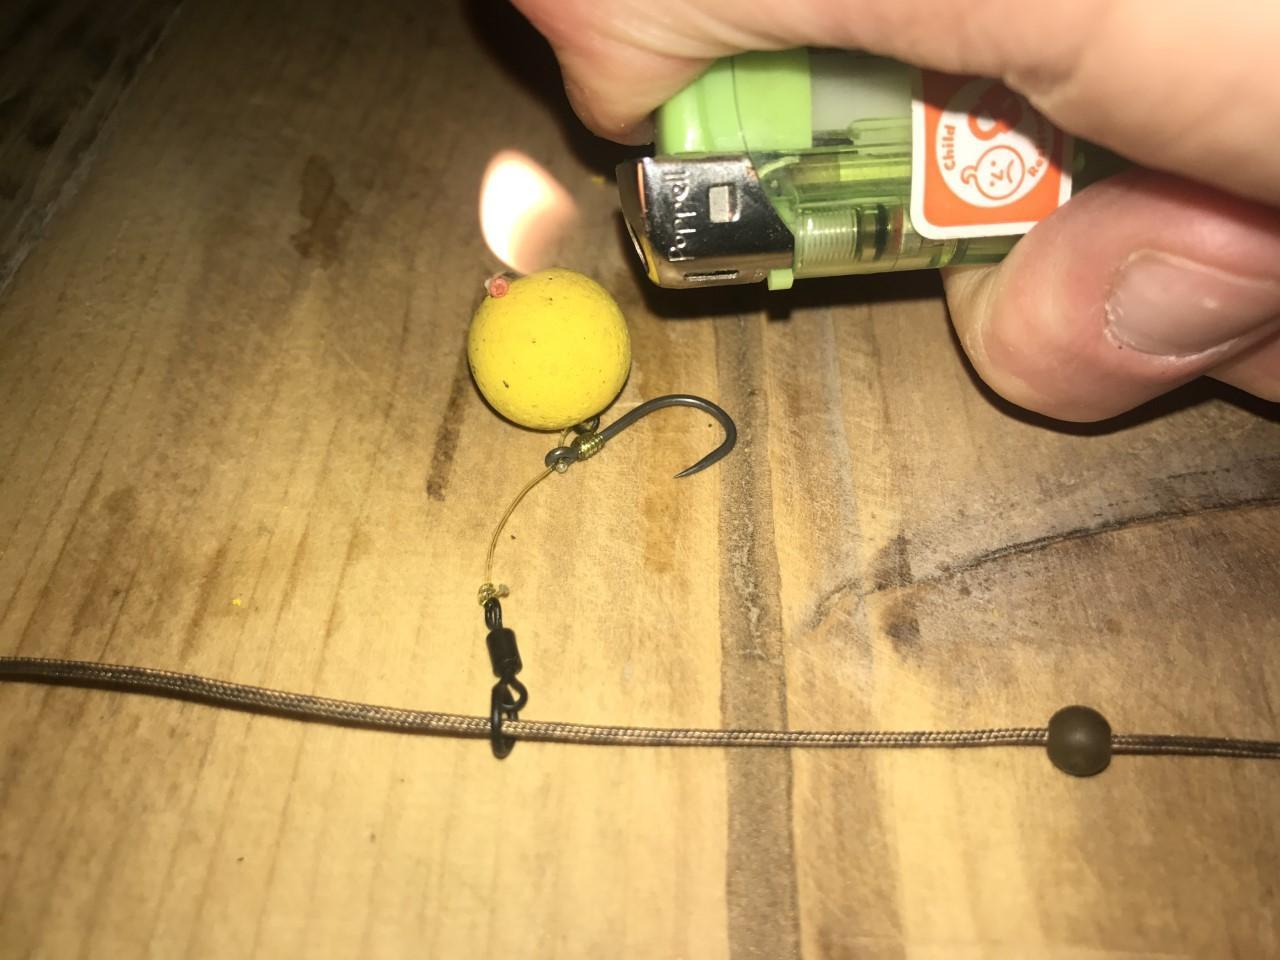
Use the bait floss to tie the pop up boilie fixing it with a hair stop.
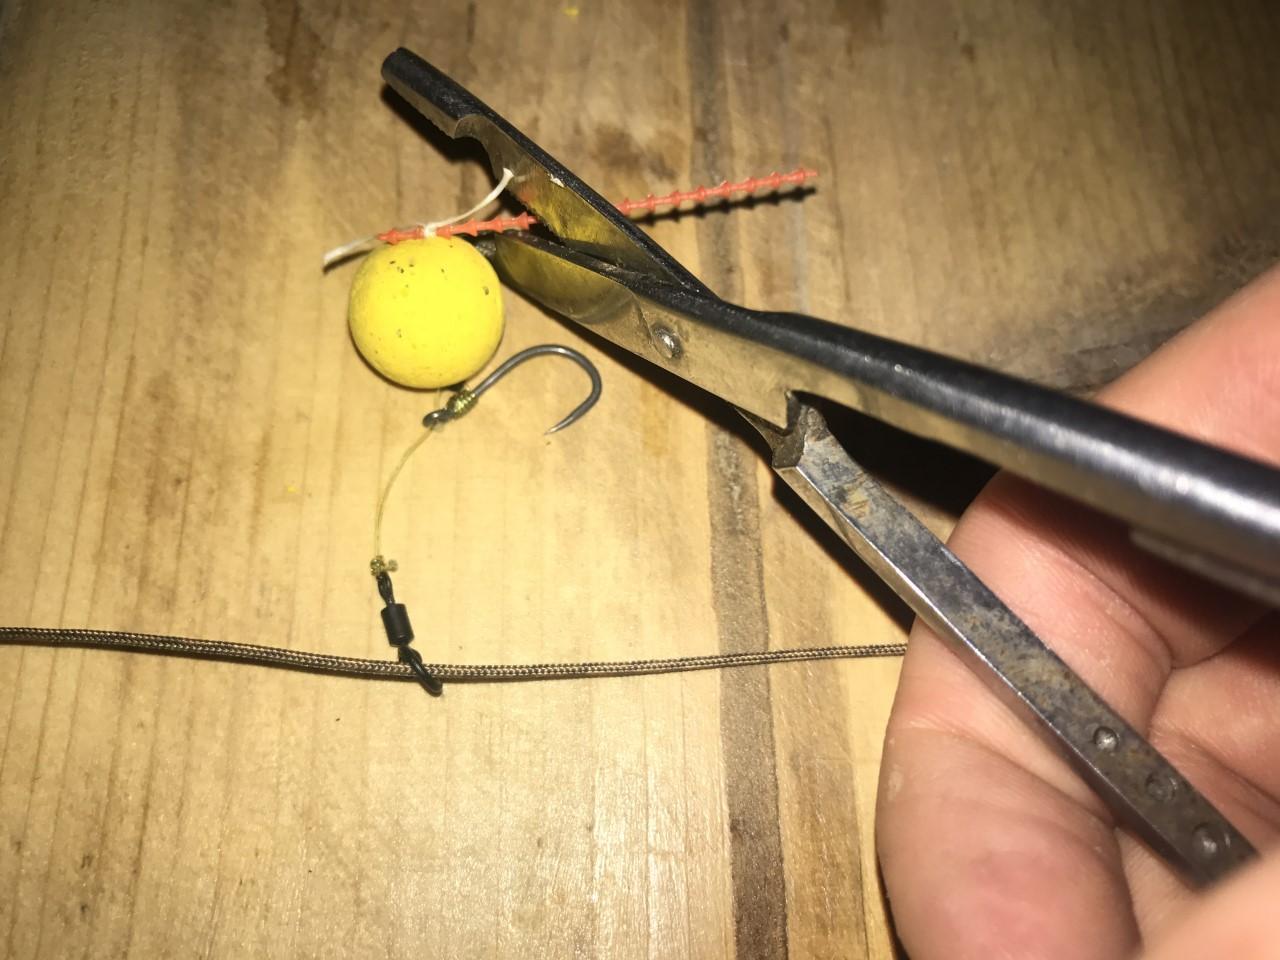
Take a lighter and blob down the bait floss so that it looks neat and tidy.
Step 5
Securely fasten the loop at the opposite end of the leadcore to your mainline, and proceed to cast the rig out. During the cast, exert a gentle touch to straighten the rig and reduce its speed as it makes contact with the water. By doing so, you enhance the rig’s presentation, preventing it from tangling or coiling up upon reaching the lake bed.
The accompanying images below depict the advantageous positioning of the chod rig, which keeps the hook bait elevated and free from entanglement with bottom weed.
Typically, chod rigs yield optimal results when deployed over a spread of boilies. However, if you opt to introduce a particle mix using a spod, it can have a counterproductive effect. The finer particles tend to sink to the lake bed, potentially attracting the fish away from the location where your hook bait has settled.
Save
