The blowback rig has been extremely successful for a number of years and uses a hair that is attached to a micro rig ring that is able to freely move up an down the shank of the hook. The free movement of the hair up and down the hook increases the rigs hooking potential. When a carp tries to eject (blow out) the hookbait, the rig ring and hair will slide towards the eye of the hook. With rig ring and hookbait at the base of the hook, the point of the hook in relative terms is heavier and therefore will drop down to the carp’s bottom lip. It is the mechanics of the blowback rig that gives it its increased hooking potential properies.
Here’s a step by step guide of how to tie the blow back rig
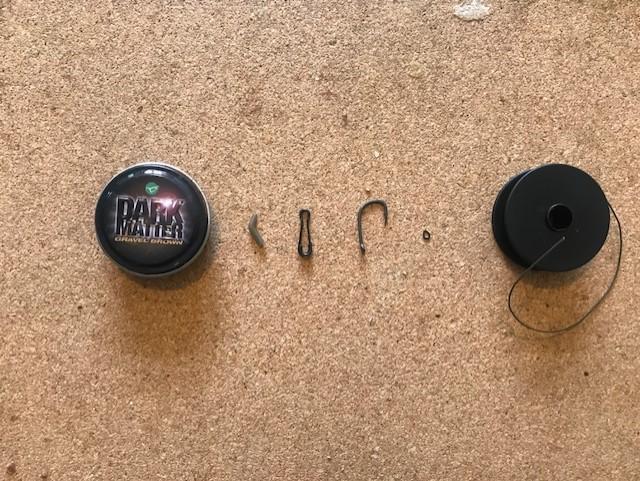
The components:
The components you will need to tie the blowback rig are, a semi stiff coated braided hooklink material such as N-Trap soft, a Korda Wide Gape X hook, tear shaped micro rig ring, line aligner, quick change rig clip and rig putty.
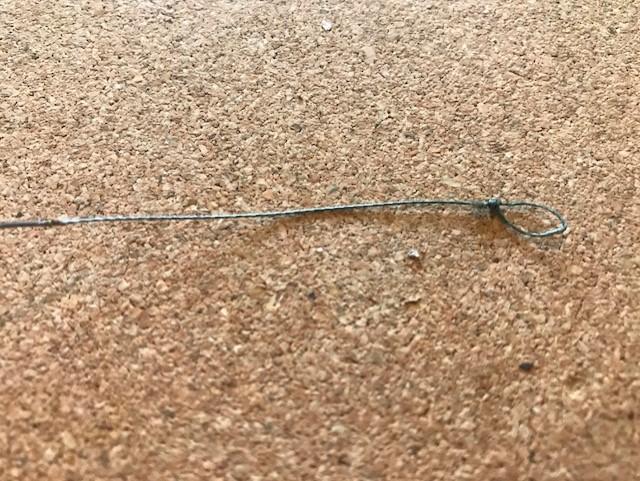
Step 1:
Cut a length of N-Trap Soft of around 10 to 11 inches in length with the aim of creating an 8 inch rig. Strip back 3 or 4 inches of the outer coating and using a single overhand knot create a small hoop leaving one and a half to 2 inches of stripped back material showing.
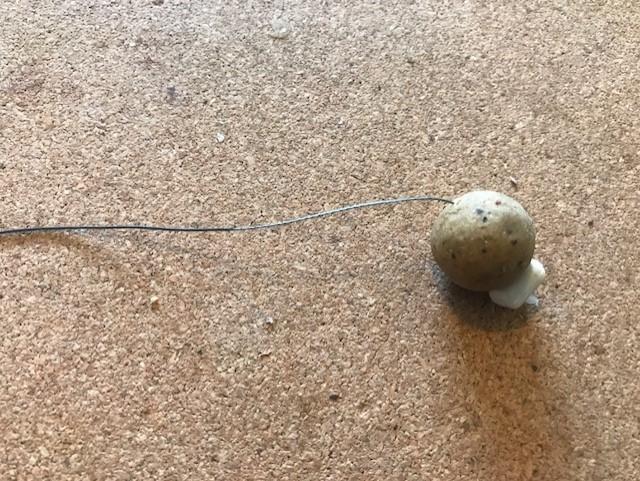
Step 2:
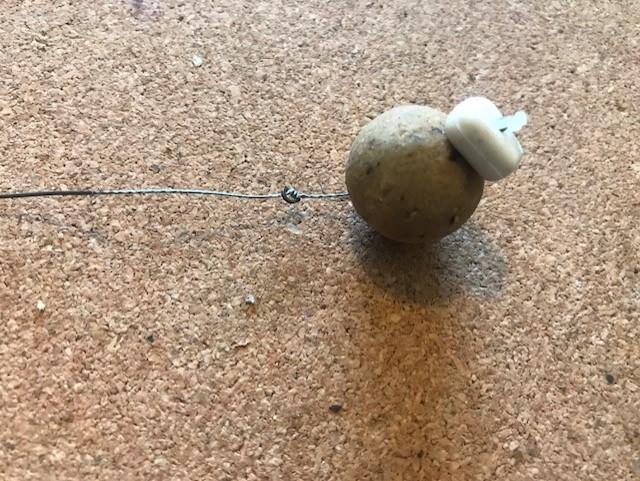
Using a baiting needle thread your hookbait onto the hair and attach it with a hair stop. The blowback rig works equally well with semi buoyant baits and popups.
Step 3:
Take the tear shaped ring and slide it down the hooklink material toward the loop. The distance between the rig ring and the hookbait will be the distance your hookbait will be from the shank of the hook. To secure the rig ring in place pass the hooklink material back through the rig ring. Push the knot down to the narrower end of the ring. Using a tear shaped ring allows the bait to sit off the hook at a slight angle, therefore increasing the rigs hooking potential as twists and turns.
Step 4:
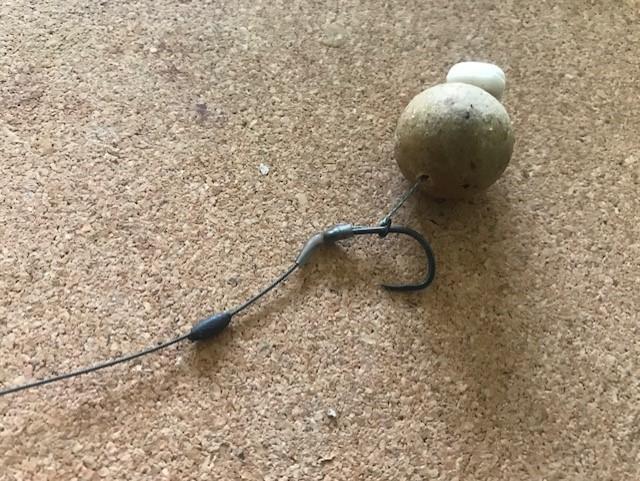
Slide the rig ring over the hook so that is opposite the hook point. Attach the ring in position by using a 3 turn knotless knot.
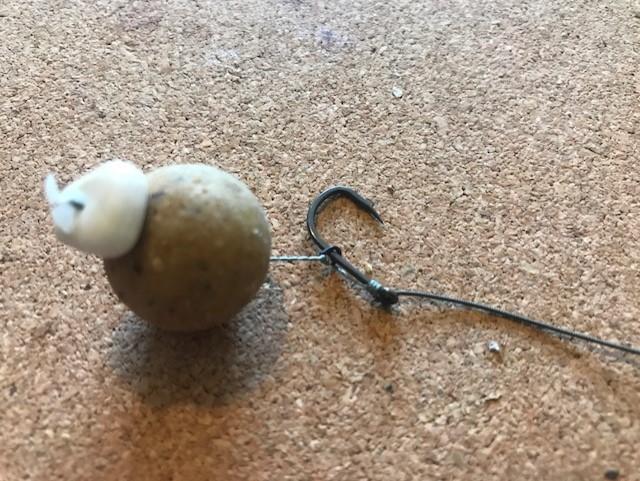
Step 5:
To further increase the rigs hooking properties push a line aligned over the eye of the hook. This will create a kick and when the carp tries to blow the rig out its mouth, as the ring and hair slide towards the eye of the hook, the line aligner ensures the hook is at an even more aggressive angle to catch hold of the bottom lip.
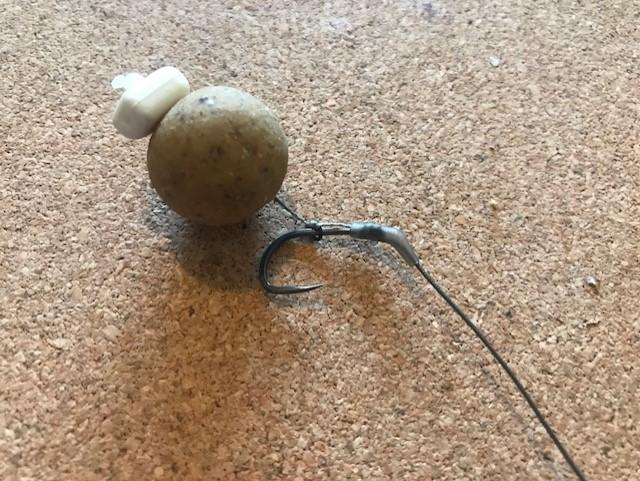
Step 6:
With the remaining end of the hooklink material tie a single overhand loop so that the rig can easily be changed using a quick change rig clip.
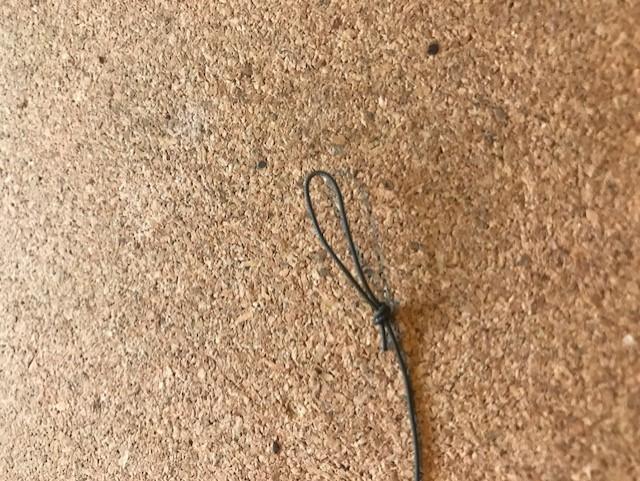
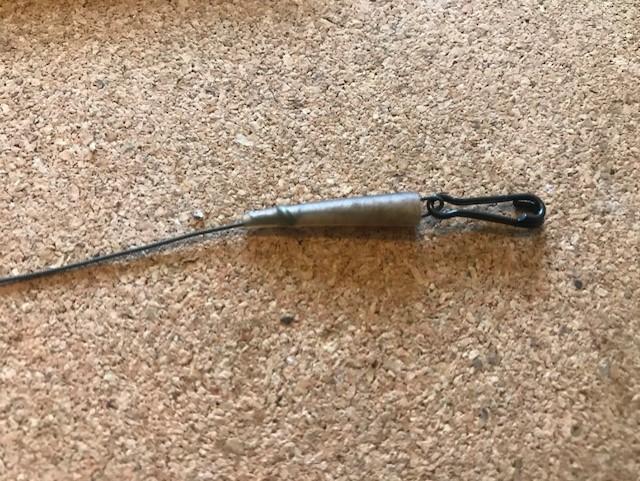
Step 7:
Attach a quick change rig clip and rubber rig sleeve. The sleeve serves two important purposes, firstly it helps to kick the rig out away from the lead and secondly by pushing it up over the rig clip makes sure that the loop tied in the hooklink material cannot accidently manage to pass through the rig clip.
Step 8:
Finally to add three blobs of rig putty along the hooklink material to ensure it is pinned down to the lake bed and there no protruding sections that may spook a wary carp.