Getting good photos of your capture whether in the UK or carp fishing in France gives you something to look back on, provides material to show your mates and other anglers, and helps bring those memories flooding back. Of course, taking great carp photos are also essential to providing content in these days of social media.
Decent images are not difficult to achieve and modern technology makes the job a whole lot easier. Digital cameras, be they DSLR, mirrorless, bridge, or even compacts, are well capable of taking good quality images and their settings can be automated to make the whole process relatively simple. Although your phone can create some nice, clear shots, we’d recommend using a camera to avoid the wide-angle perspective, with both the fish and angler’s hands appearing enlarged.
Getting the perfect shot of carp a carp on the bank
What is the best type of camera for taking photos of a carp on the bank?
Use the guide below to obtain images that are close to the perspective the human eye sees:
Full-frame DSLR and mirrorless cameras
- 50mm prime (fixed) lens or zoom in to 50mm on a telephoto lens
Crop sensor DSLR and mirrorless cameras
- 35mm prime lens or zoom in to 35mm on a telephoto lens
Bridge cameras
- Zoom in to 35mm
Compact cameras
- Zoom to around 35mm
- Your model may not show the focal length selected but show a multiplier instead. If the range starts at 25mm, as most do it’s x1.4 and 28mm is x1.25). A couple of quick taps on the zoom button should be close
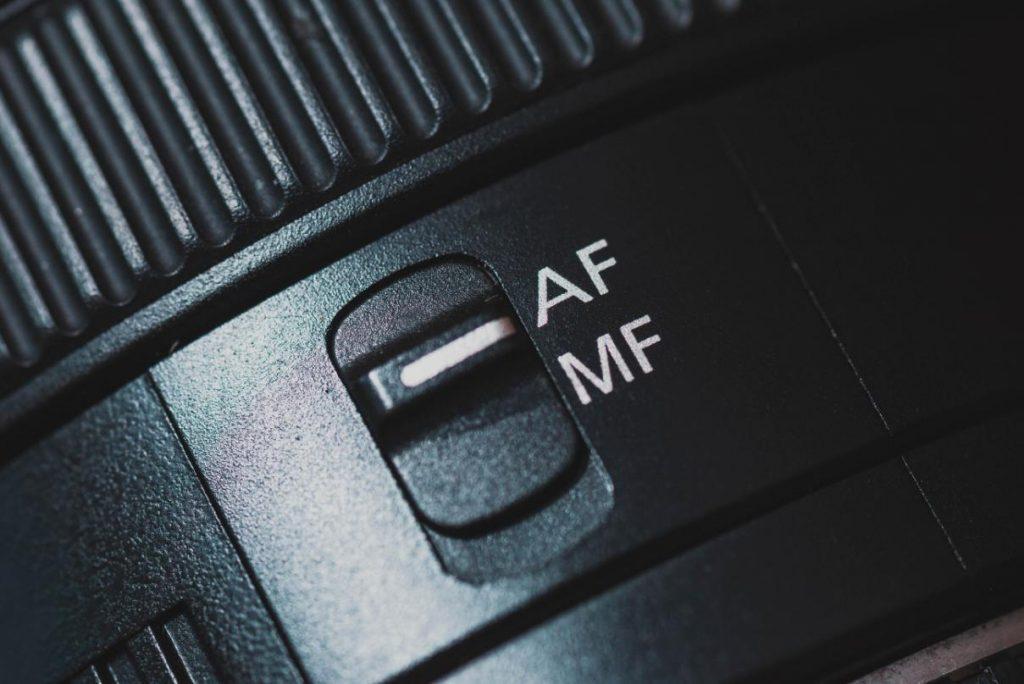
What camera settings should I use for good carp fishing photos?
While using the auto setting will produce okay results, cameras won’t be programmed to recognise that you are photographing a carp, so you’ll be far better off in Portrait Mode. However, utilising Aperture Priority (A or Av, depending on the manufacturer) is a much better choice. It allows you to set the depth of field (how much of the image is in focus) while the camera takes care of the rest to achieve the correct exposure.
The aperture is a measurement of how wide the shutter opens and is represented by an f-number. Wider apertures (low f numbers) make a smaller portion of the shot in focus, blurring the background and making the fish and angler pop for a more effective image. An aperture of around f5 is a good starting point but consider your photographer’s abilities. A decent photographer should be able to take a nice shot at f3.5 or wider, whilst you’ll want to dial it up to f8 or more if you’re not sure of their capabilities.
Just you and the fish as the subject so Spot Focus should be selected rather than Area Focus, making sure the focus point in on the fish (usually the central position or one press below). The person wielding the camera needs to aim the focus point at the fish, press the button halfway until the camera beeps to confirm focus and then hold it there while framing the shot and firing.
Whilst prepping your camera, go as if to take a shot, press the button halfway and note the shutter speed and use flash if it’s 1/60th second or slower.
Know which camera setting you should be using
How to take the perfect day time photo of your capture
Whilst you might think full sun is desirable, it can create a harsh image with bright reflections on the fish’s flanks. Aim for a shady spot for more consistent, detailed results and avoid the worst possible, dappled shade.
During the daytime, you want to be at least a few yards away from the background to create blur for a more impactful image. Bushes, undergrowth and trees make reliable backdrops, but open fields, pathways and water can make an interesting alternative. Something a bit different, such as a building (think Horton Church), structure (Lac St Cassien’s famous bridge) or whatever, can be what creates a magical photograph. Don’t be afraid to experiment and fire off a few shots to see what they look like in search of getting that perfect photo.
Obviously it’s preferable to be on soft grass as opposed to gravel or concrete and flat ground, or a gentle incline towards yourself, enables you to maintain the best control of the fish. As well as helping to protect the carp’s slimy, mucus layer a bucket of water is useful to rinse off any leaves, weed or those foamy bubbles that appear on carp’s flanks in warm conditions.
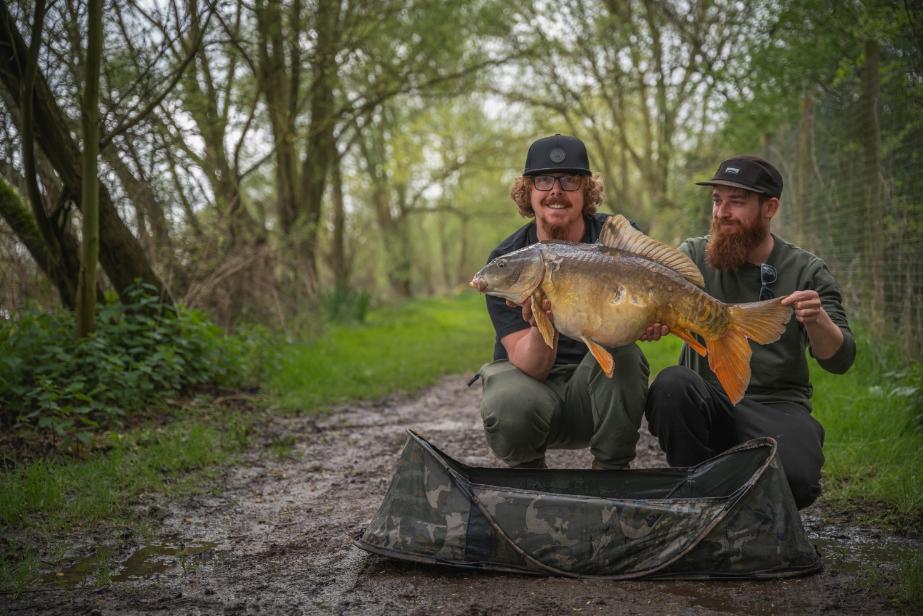
Ideally, you want to get a proven photographer to take your catch shots. If they’re around at the time of the bite, ask them to dig your camera out and take some shots of you playing the fish. Atmospheric images such as these will tell a bigger story than just the trophy shots. Much of the time, though, you’ll be saddled with whoever is walking past or the angler next door. If you’re not familiar with your cameraman’s abilities, it’s a good idea to have them take a couple of test pics to see if they can frame and focus well enough.
Remember, it’s up to you to give instructions. Ask them to take plenty of shots and not get in too tight, as shots from a bit further away can be more interesting, and images can be cropped quite heavily without causing an unacceptable drop in quality. You should have an idea of how close they should be, but do ask to see a shot or two. Keep some dialogue going with your photographer and ask questions, as they may not be the type to give instructions.
Getting the best day time photo is all about the lighting
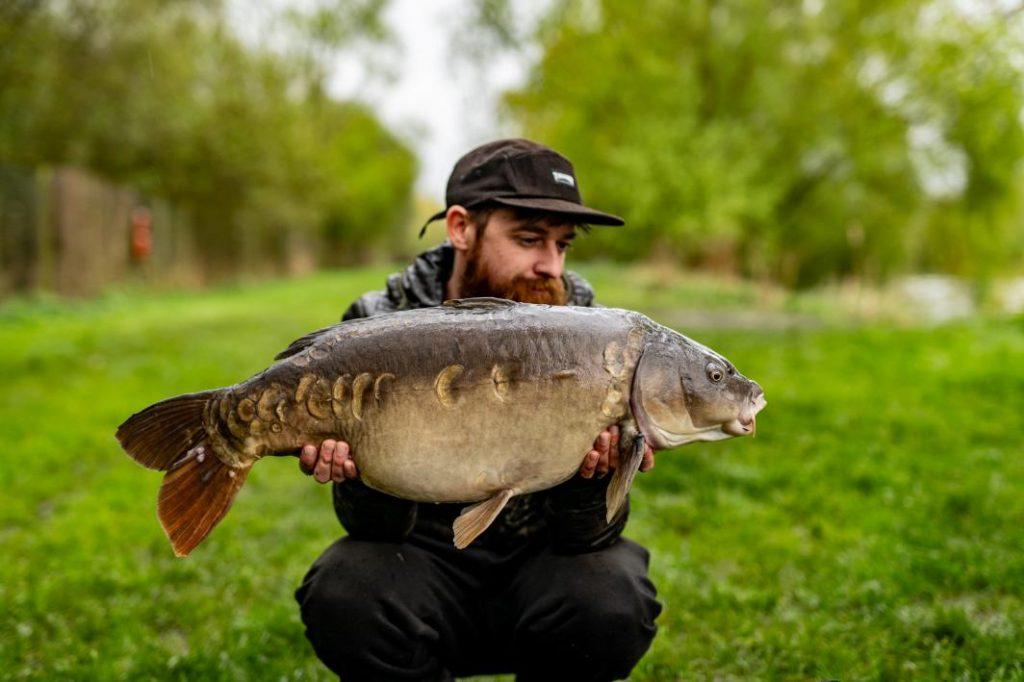
How to hold a carp for a photo
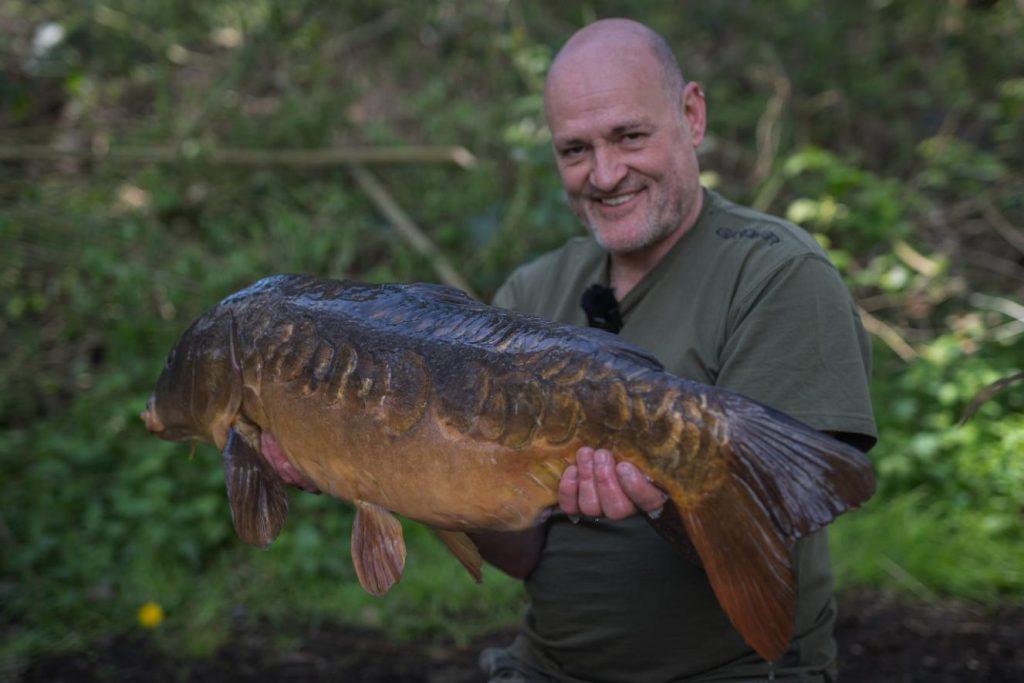
When it comes to holding your prize up in front of the camera, do so confidently. Reach underneath and nestle your middle finger up underneath the pec, where there is a little recess. The other hand goes under the anal fin and holds it flat against the carp’s body. Your hands are there to provide a platform on which the fish sits. If you try and grip the fish you’ll end up with your fingers all over the flanks. It’s easier to hold a carp, especially a big one by utilising one of your knees, at the heavier head end, as support. Adopt a few different poses as the shots are rattled off.
Realistically, you’re after a few killer shots, so look at the fish’s head, tail, straight at the camera, smiling, serious to give a variety of expressions. Tilt the fish a few degrees either way to avoid the light reflecting off the flanks and ask your photographer to take some portrait shots and some alternative aspects, head on, tail on etc. Wetting the fish regularly will keep it looking fresh and healthy. You don’t want to be keeping your capture out of the water for long so all this needs to happen pretty quickly before it’s time to put it back. Ask your photographer to get some return shots, which can be particularly effective.
How to hold a carp for a great photo
What you need to know to great a great night time photo if your carp
You don’t need to retain fish until daylight to get good pictures as well-lit night shots are easily achievable with a few changes to the procedure. Obviously, you’ll be using flash to provide light. This can come from an external flash gun, however, the inbuilt flashes of today are very capable and produce sufficient illumination, especially if you adjust the flash compensation to +0.7 or +1. Night shots require the background foliage to be close to bounce the flash’s light around and illuminate the scene. Use a fairly narrow aperture (f8) to keep more of the shot in focus.
How to take the perfect self-take when carp fishing
Digital cameras make self-take photography so reliable and consistent that it is many anglers’ preference. A flip screen means you can see the images as you take them and adjust your position accordingly.
To enable your camera to focus you’ll need AF assist to be on (you can leave it on permanently). A tripod or even an adapter (adjustable is more practical), connecting the camera to a bankstick are much better than balancing cameras on buckets.
Depending upon your particular model, you are likely to have a remote trigger available, enabling you to take your shots one at a time. Keeping it in a tiny, press seal plastic bag or taping up the battery compartment keeps water out of the electronics. It’s best to set the trigger for a two-second delay, giving you a moment, after pressing, to compose yourself. Holding the remote in the hand by the pec, otherwise, it’ll be pointing in the wrong direction. Alternatively, an affordable piece of kit called an intervalometer can be used to set the camera to fire as many shots as you like at your chosen intervals.
It’s essential that everything is in the right place, so assume the position and take a shot. Make adjustments to the camera’s position or angle and try again until it’s right, prior to taking the fish from the water and doing it for real.
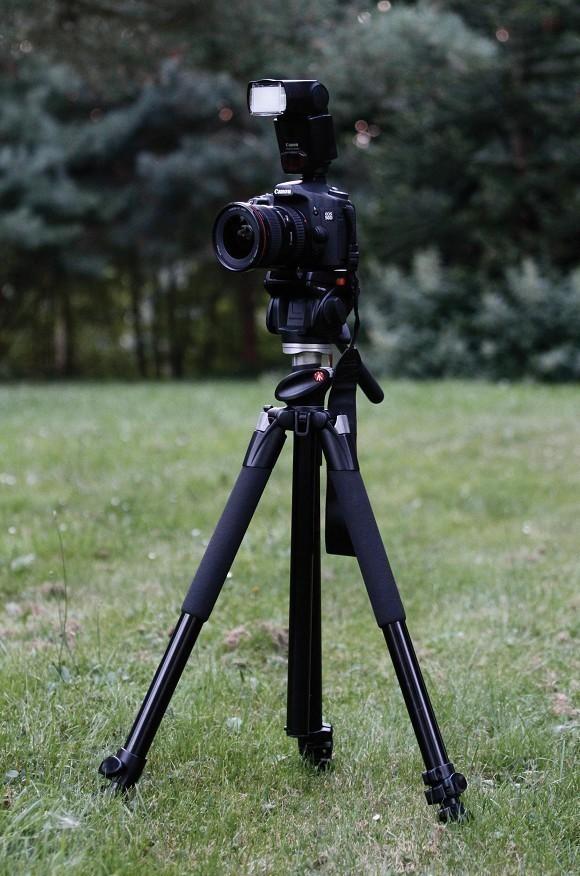
A tripod is essential for carp fishing self-takes
Editing your photos
If you’ve done everything right, you should have some good shots to use but sometimes it doesn’t work out as you hoped. It’s well worth playing around with a photo editing app to see if you can get something useable. Cropping your images to get you and the fish central and straightening them up so they are horizontal is standard practice, and it’s a simple matter to lighten or darken them a bit. Save your efforts as copies so you’ve still got the original to work on at a later date.
Hopefully, you’ll see an improvement in your results, but remember that, over time, the more you practice, the better your images will become.