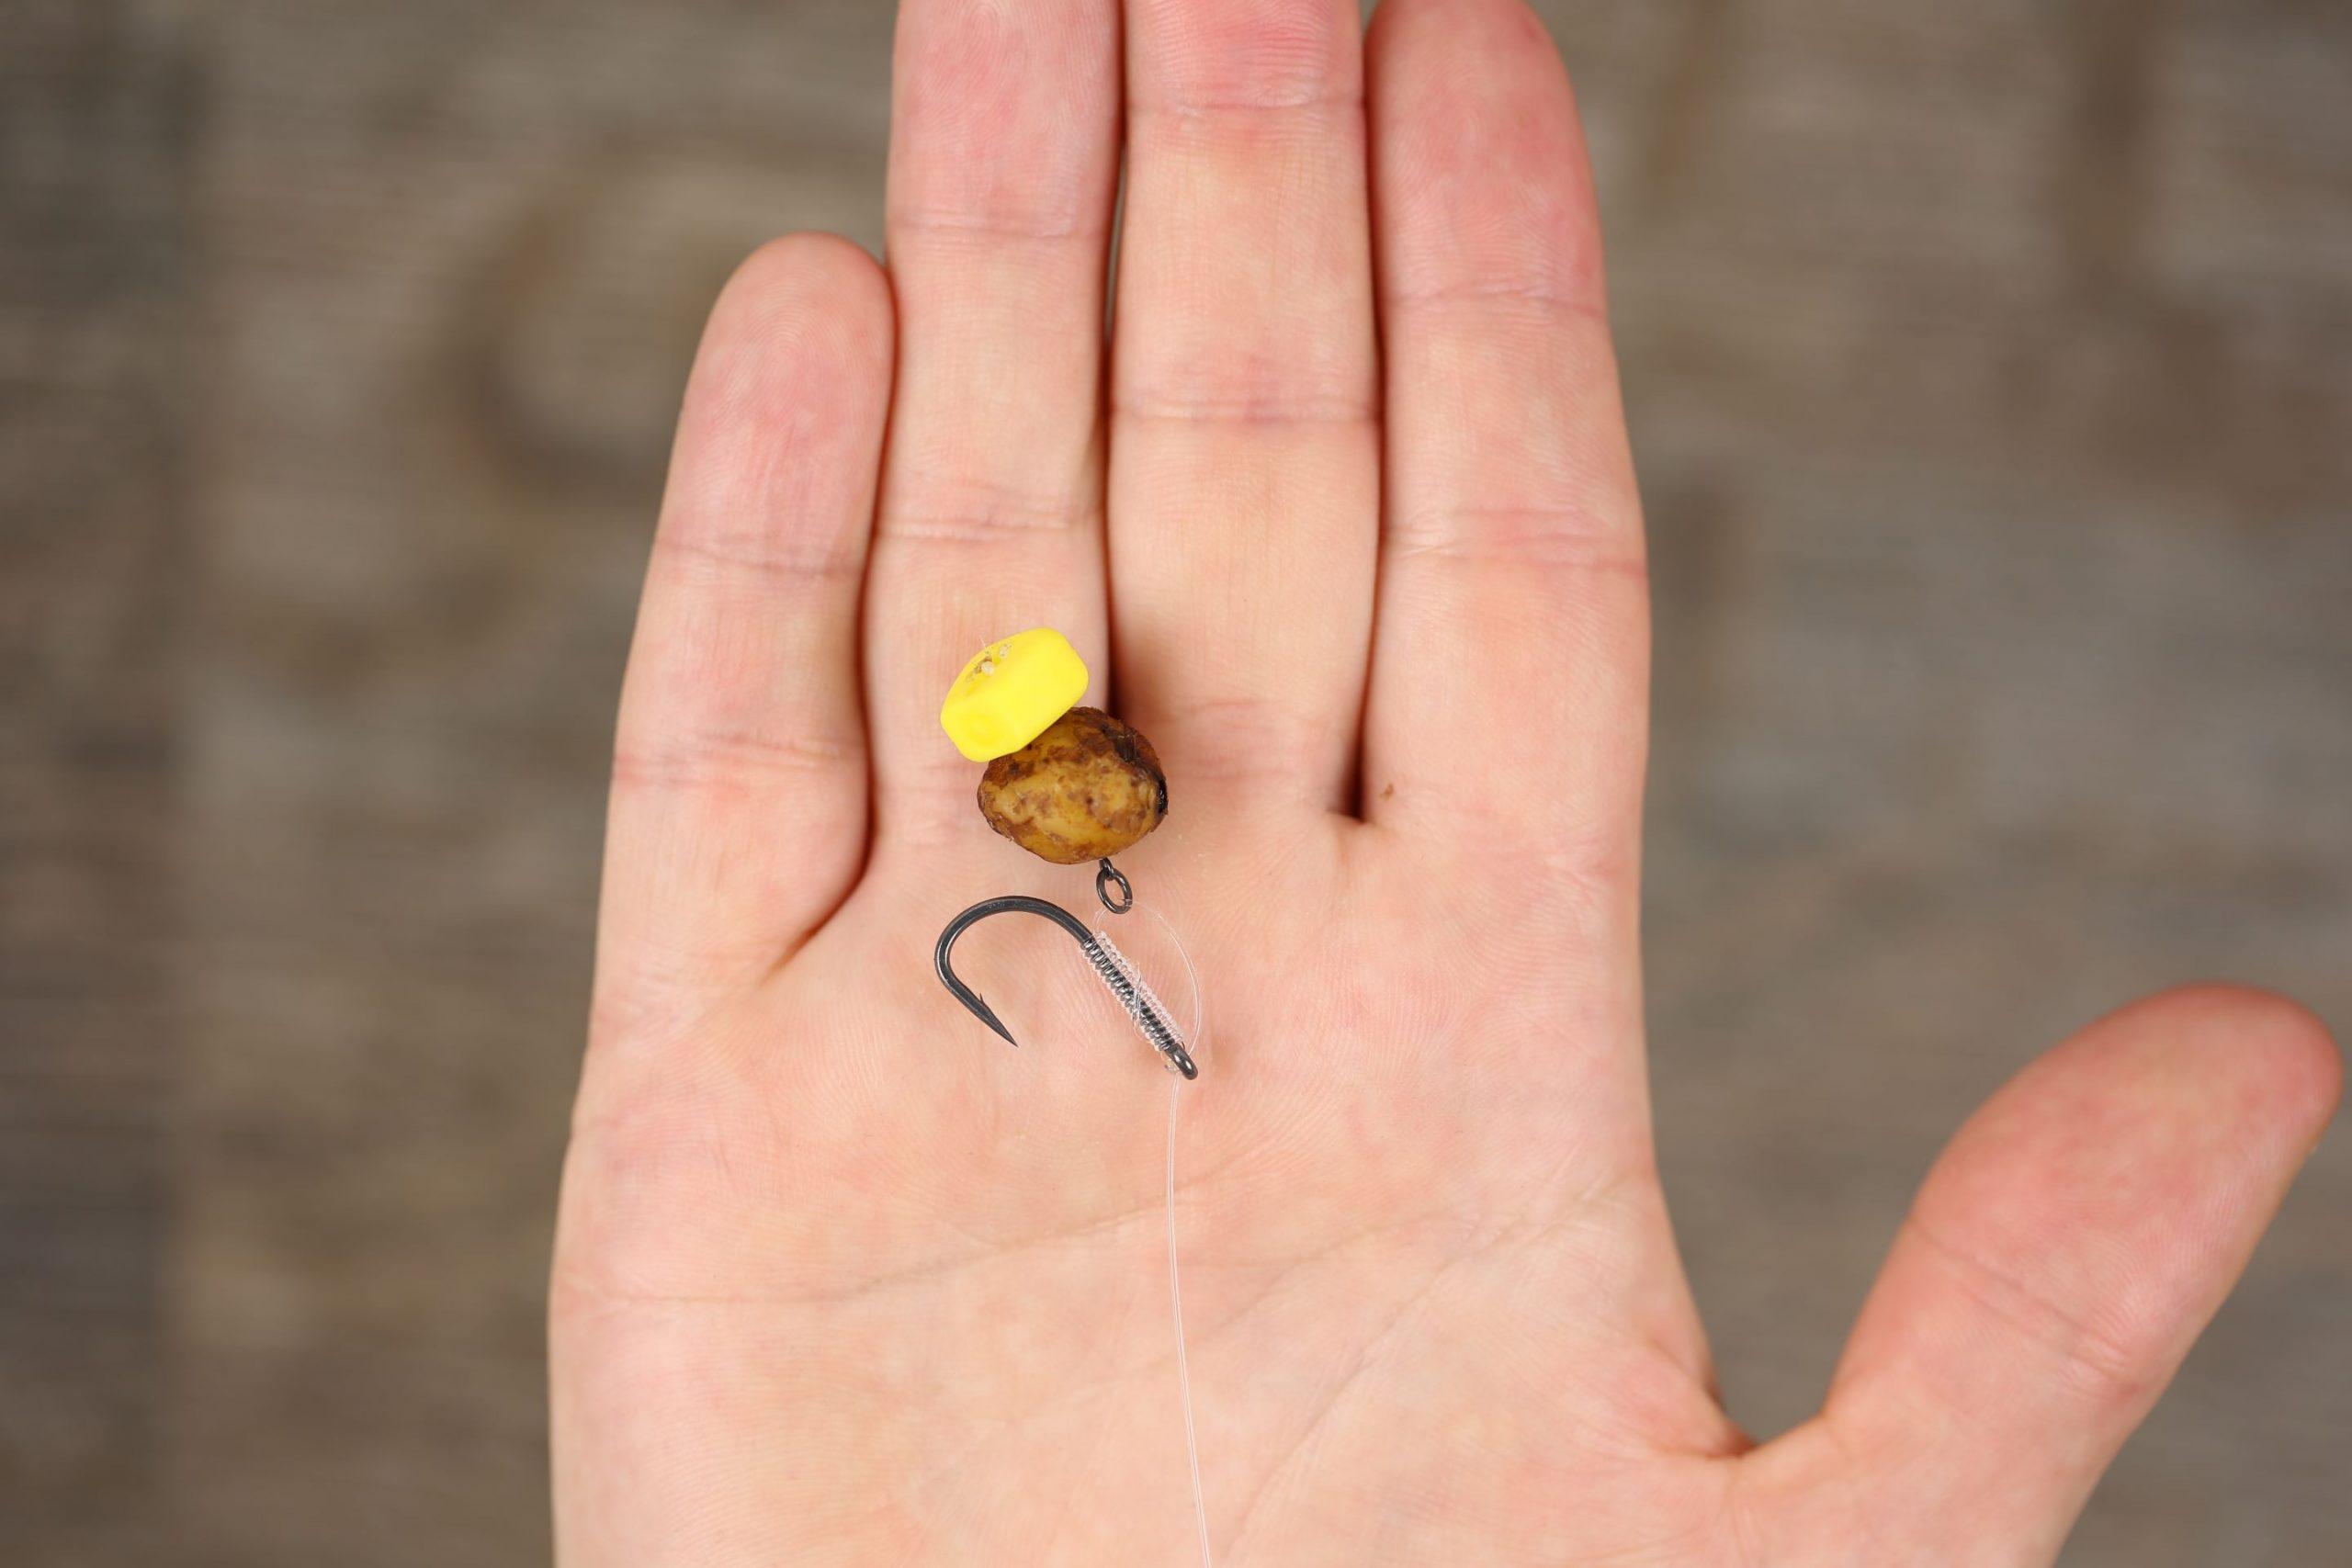
We should all learn to love the D. It’s a simple but highly effective rig that lends itself to a number of applications.
The classic D rig is tied with a stiff material, normally fluorocarbon, but sometimes monofilament, and is so called because of the D-shaped loop on which the bait sits. It’s a very simple presentation to tie, but a couple of rules need to be followed to really make it work as it should.
Use a stiff hooklink material
A stiff hooklink material is crucial for maintaining the shape of the D coming from the rear of the hook’s shank, but remember that such stiff hooklinks are often pretty thick and you will need to go through the eye of the hook twice.
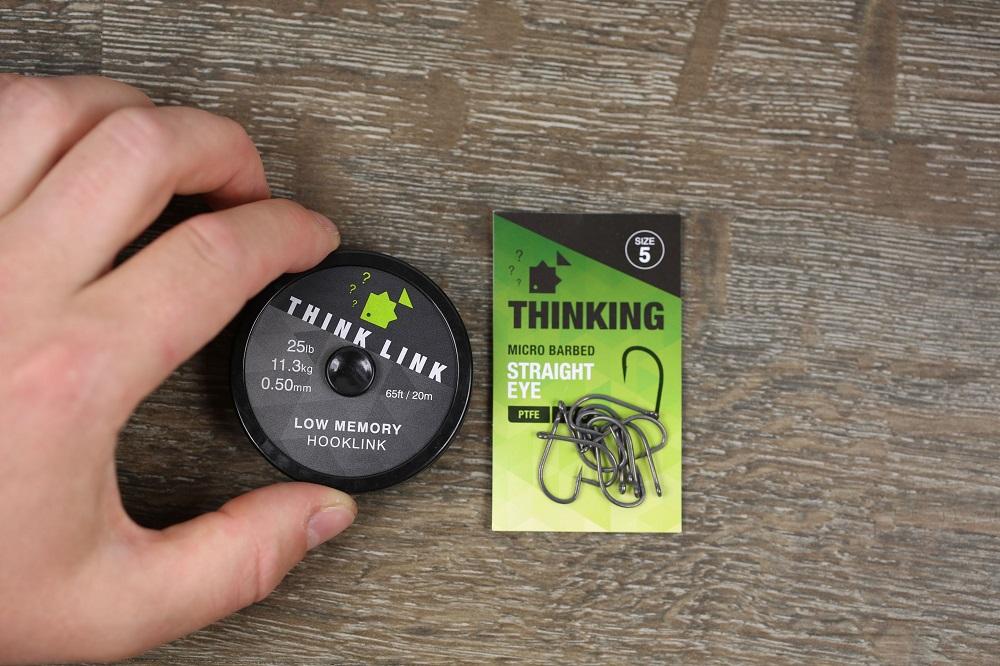 This calls for a hook with an eye big enough to cope. Traditional ‘stiff rig’ patterns with out-turned eyes are generally a safe bet because they have been made for just this purpose, but plenty of other patterns from various manufacturers are also up to the job.
Do you need an out-turned-eye hook?
So do you need an out-turned-eye hook? Not necessarily. Years ago, fluorocarbon technology was less advanced and many products would snap if used with hooks with an in-turned eye, due to the stress of the line angle. That issue has basically been eradicated with modern flouros like Korda’s hugely popular IQ2, so your hook choice is a lot broader. In fact, many anglers opt to fish a D rig with a curve-shank hook or even standard straight-point and wide-gape hooks to create subtly different setups.
The D rig is suited to bottom baits and wafters
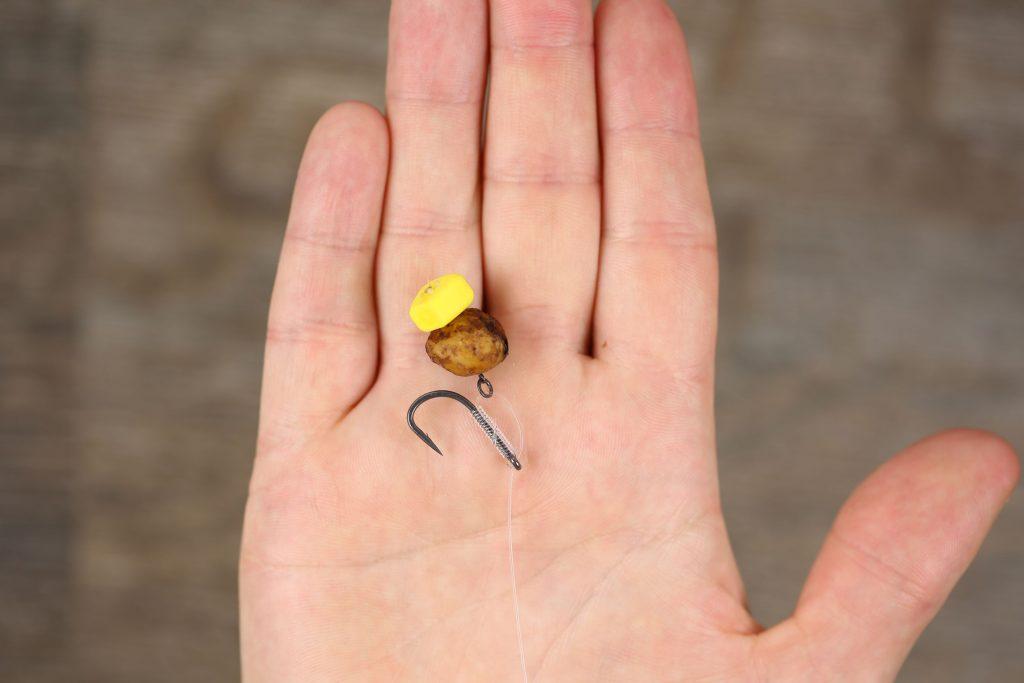
The standard D rig is best used for bottom baits and wafters, and its effectiveness lies in its blowback properties. Firstly, the hookbait is naturally kept close to the hook due to the D arrangement, and this stiff loop allows your bait to move freely. If a fish picks up your rig and tries to eject it, the bait can slide along the loop, leaving your hookpoint free to prick the bottom lip unhindered.
Tying the D Loop
The D loop is simply formed by bending back what would have been the ‘hair’ section after tying a knotless knot and passing the tag end through the back of the hook’s eye before securing it in place by gently melting it. Its size can be varied to suit the situation and it seems there’s a current fashion for quite large loops, especially when using bottom baits, to give the hookbait a greater degree of natural movement.
Step 1: thread the florocarbon through the back of the hook’s eye
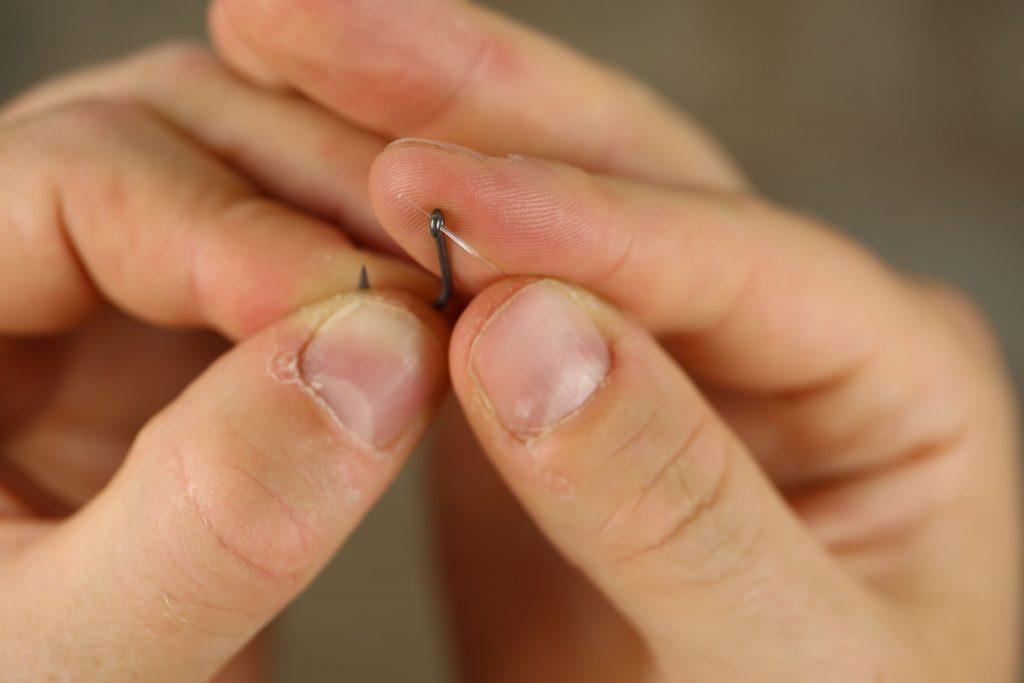
Step 2: wrap the florocarbon around the shank of the hook until you are level with the hook point
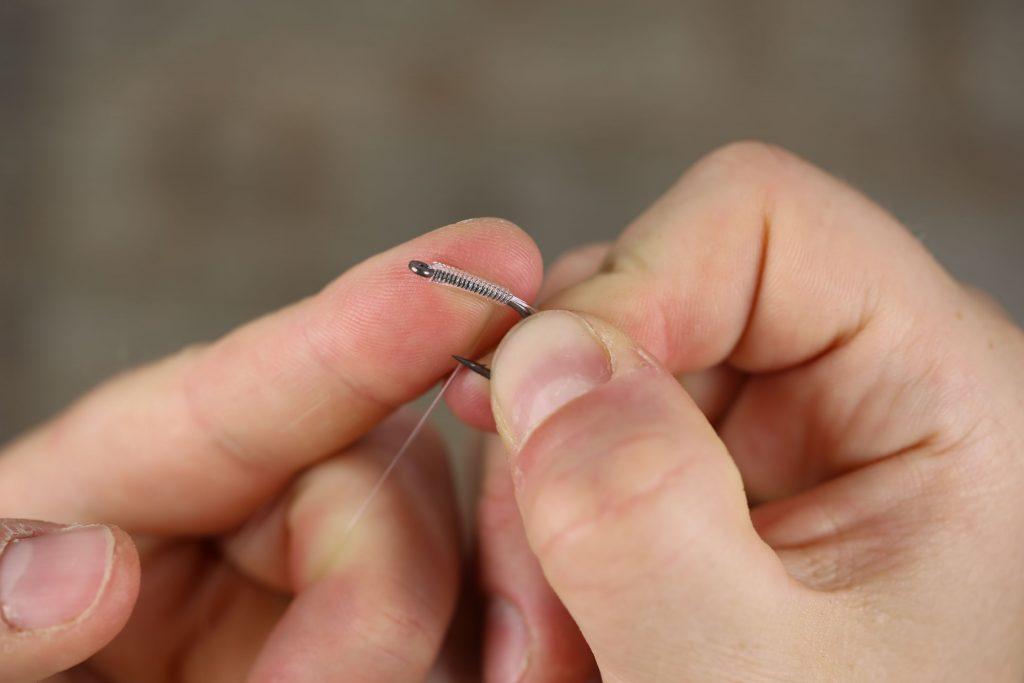
Step 3: pull the long length of the hooklink back through the back of the eye as if you were tying a knotless knot
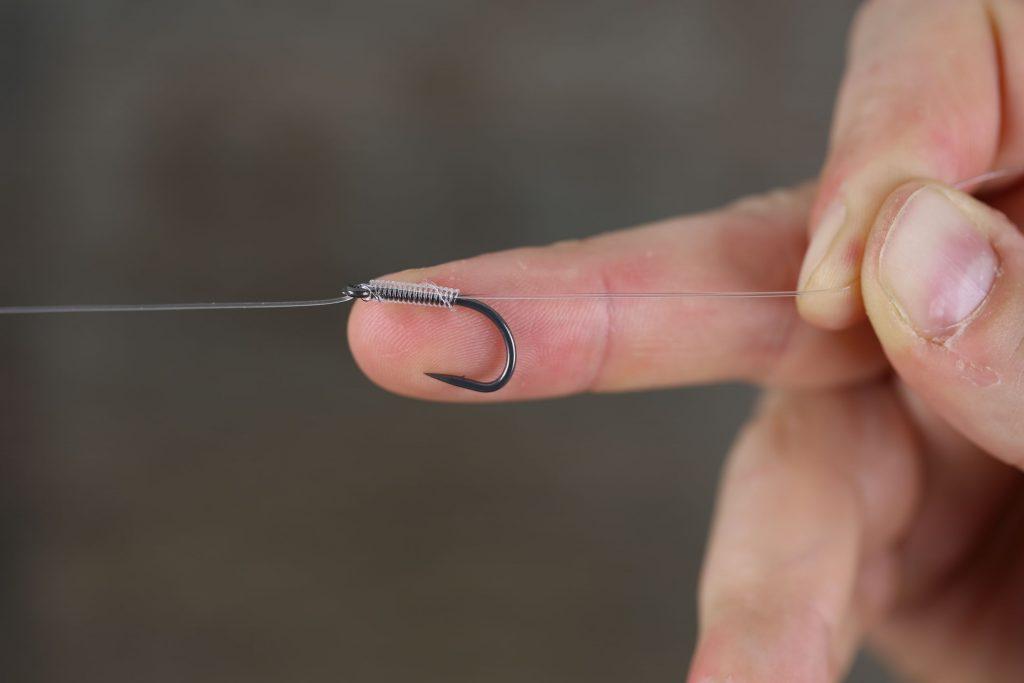
Step 4: Thread a micro swivel or bait screw onto the length of florocarbon which will form the ‘D’
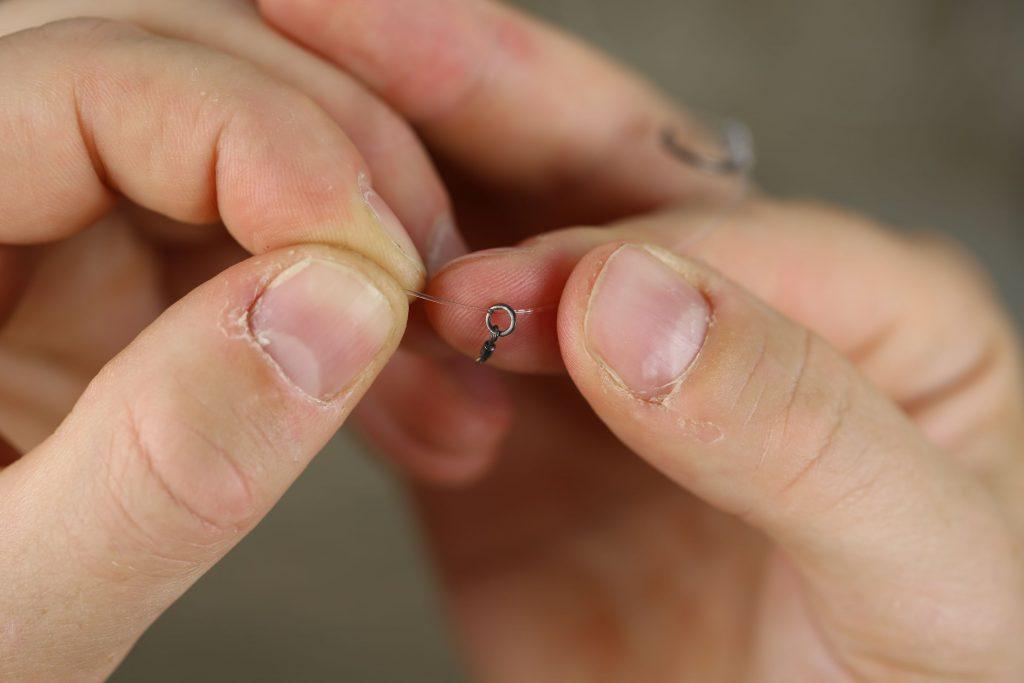
Step 5: Pass the florocarbon back through the eye of the hook to create the ‘D’
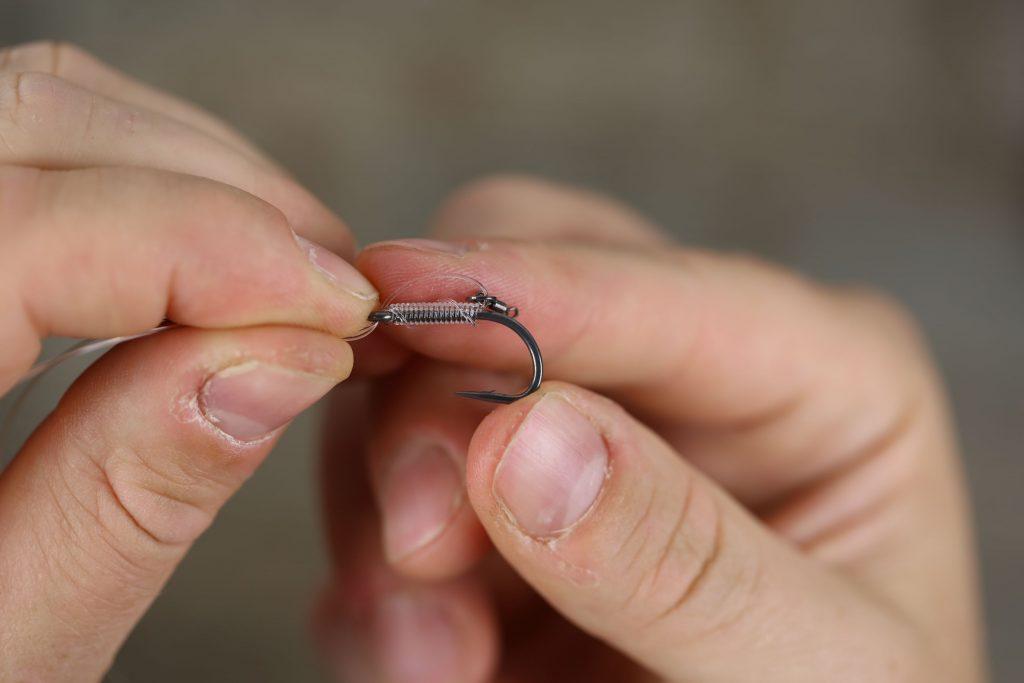
Step 6: Blob the tag end with a lighter
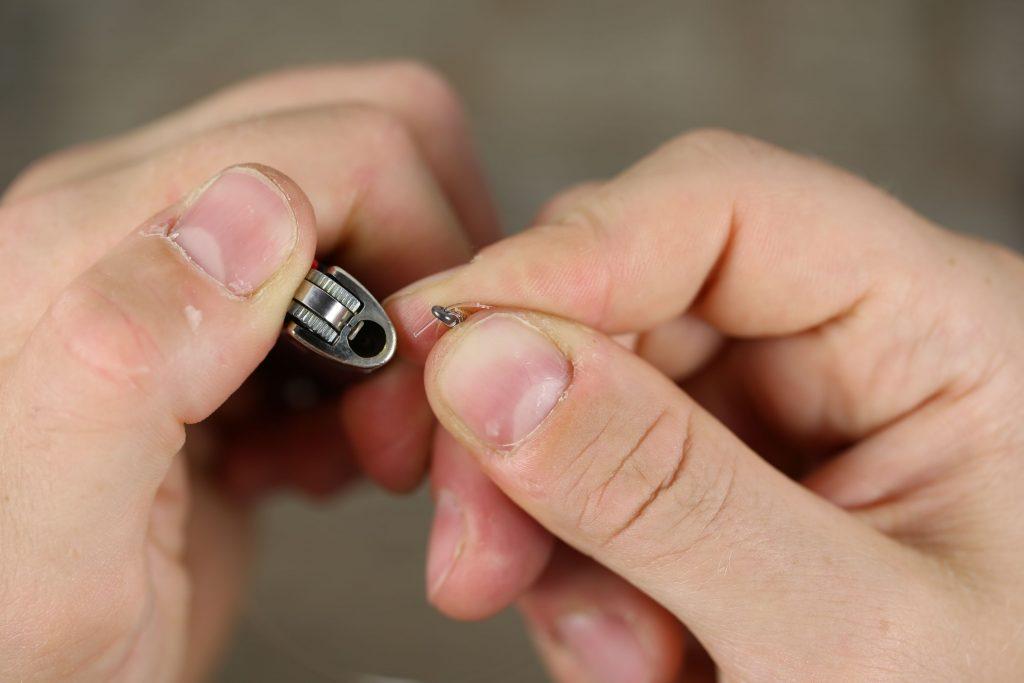
Step 7: Attach a heli double ring swivel
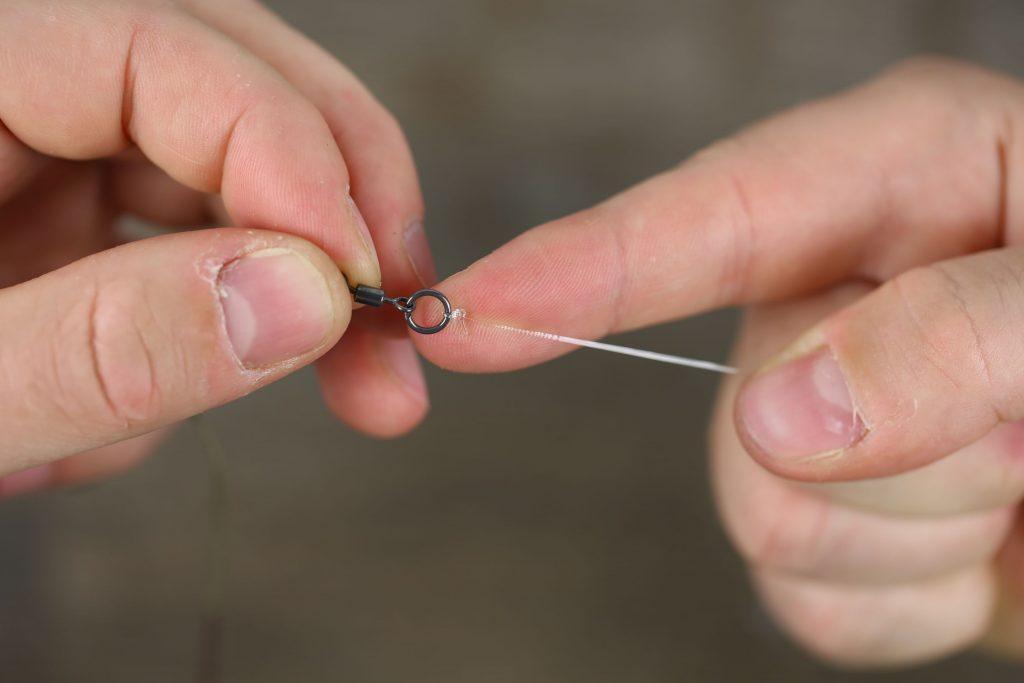
Step 8: Use some rig putty to ensure the florcarbon sits on the lake bed
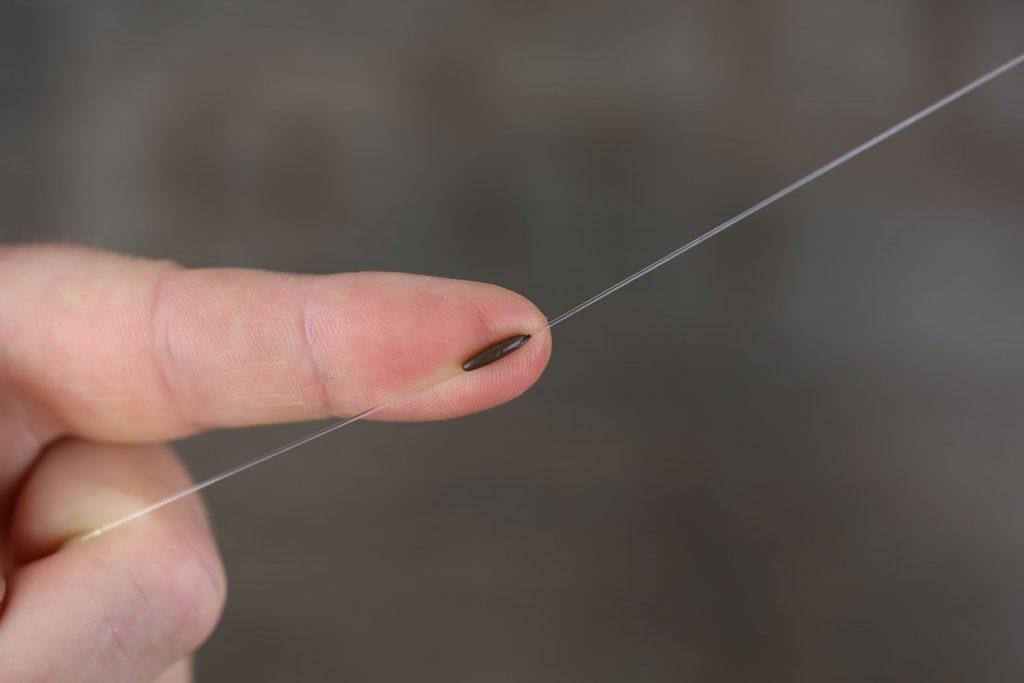
Use mini swivels or bait screw to mount your hookbait
The early D rigs feature simple rig rings on which hookbaits were mounted with floss, but these days there are more options. Mini swivels are popular for increased movement and adding a bit of extra weight to balance semi-buoyant baits, while bait screws (either plastic or metal) have become increasingly widely used thanks to their simplicity. There’s no messing around with floss, you just tighten your bait onto the screw.
D rigs are most effective fished over hard clear spots
Due to being tied with stiff hooklinks, D rigs are generally fished on hard clear spots, but they can be used with care and a bit of extra length over silt and light weed, though be aware that the D is a natural area for weed to clog. It can be fished quite happily on either a lead clip or helicopter setup, though the latter might be the best choice on lakebeds where detritus could cause the hooklink to sit unnaturally when exiting from a clip.
For softer lake beds the D rig can be tied with a more flexible material
And it needn’t be fished entirely stiff, either. A rigid section can be used to form the D before making way to a more flexible material in the form of a reverse combi rig. These can prove very tricky for the carp to deal with and offer better presentation over undulating or messy lakebeds. An Albright Knot can be used to join the stiffer material with a simple braid or coated hooklink, though take care when casting this presentations as they can have a habit of tangling.
If you are looking for an on-the-deck presentation to reset itself after being ejected, picked up by smaller fish or meddled with by crayfish, then the D rig is certainly at the top of the pecking order. It might look slightly crude, but its hooking mechanics are also top notch.

