We all want to catch fish that are in prime condition. Whilst out of their natural environment, the precious carp we catch are vulnerable, and it’s our duty to handle carp safely on the bank and ensure they are not harmed. Their time on the bank not only permits us to capture the moment but also represents an opportunity to check their condition and give them a little healing assistance if required.

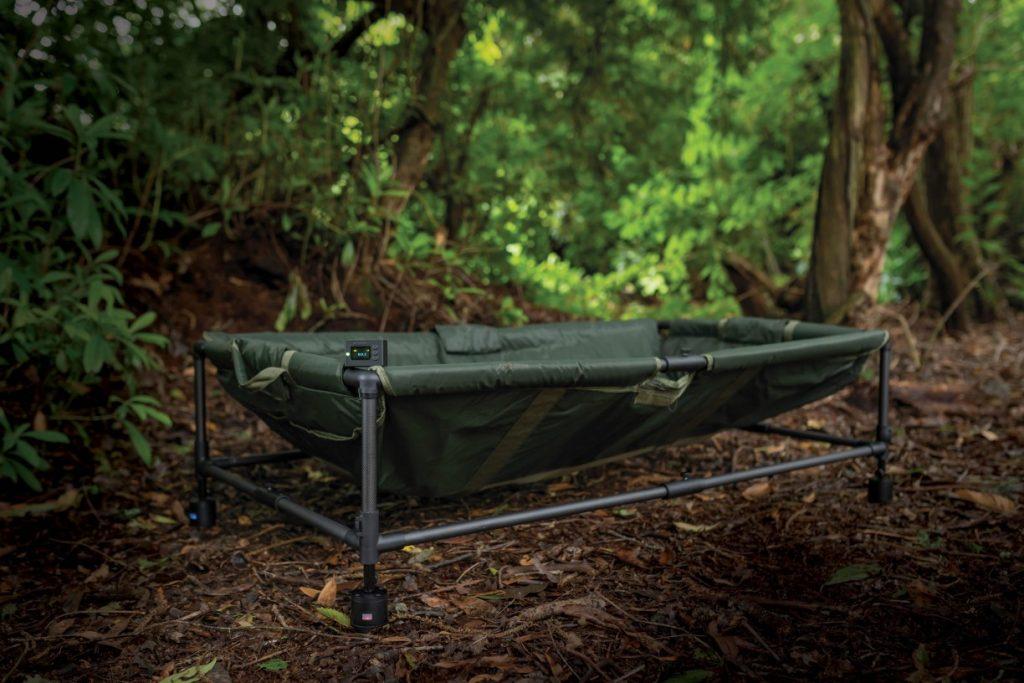
A good quality unhooking mat is required to safely handle carp on the bank
Organised kit is key to handling carp on the bank
So, how do we go about making sure our quarry is looked after when we catch them? Organisation is the key, and it’s essential to make sure everything is ready in order to minimise the time a fish spends out of the water. It’s also important to have a system to work to so everything goes like clockwork.
What kit required for good carp care?
- Landing net – Your landing net should preferably have a deep mesh that allows fish to rest comfortably. Holes and tears in the mesh can catch and damage fins or allow leads to pass through, risking mouth tears, so check regularly and repair or replace as necessary.
- Unhooking mat – The bigger your unhooking mat, the better, and we’d advise one with a retaining flap. Fishery rules might dictate which type you have. Mats with raised sides prevent carp sliding off but do require them to be held higher for the trophy shots. Your weigh sling must be sufficiently large enough for the carp you catch, be soft and protective and have plenty of drainage.
- A water container – A water container of some sort will allow you to keep your fish wet, maintaining its protective mucus (slime) and gills from becoming dry. It’ll also keep the fish looking natural and clean in your photos. A bait bucket, particle jar, or collapsible bucket are all fine.
- A pair of forceps – In your scales pouch, you’ll need a pair of forceps (straight or angled) and a pair of cutters, such as those found on crimping tools. It’s not a bad idea to have a large, old-fashioned plastic disgorger too.
- Carp care antiseptic liquid – The last requirement is some carp care antiseptic liquid for the treatment of wounds or damage. It’s worth having a spare in case you run out or experience a nozzle blockage.

image credit to Beausoleil Carp and Cats
You’ve just landed a carp so what are the steps to follow to ensure its safety?
1. Securing the net is the first job
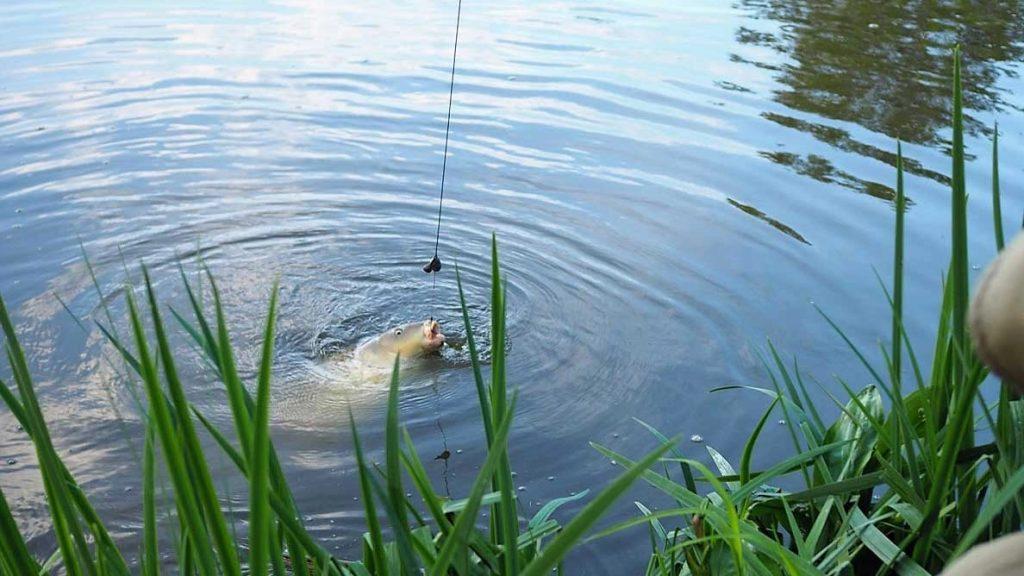
A bivvy peg or bank stick will do the job of making sure it doesn’t disappear into the lake. Then you want to see if you can unhook the fish or unclip the rig, in the net. There is a slight risk that, should a rig component become caught in the mesh it could cause the hook to tear in the fish’s mouth. If you can’t, then make sure the line is really slack and loosen off the reel’s clutch.

Secure the net whilst you organise the equipment for weighing and photos
2. Prepare everything you need for the photos
Whilst it’s perfectly possible to carry out the whole procedure solo it’s always easier with two, especially as the excitement of catching a big carp can take over. Either way, it’s time to get everything ready so that the fish is out of water for the minimum time and not left unattended. Choose your location for your photos based not just on the light and aesthetics but also on the ground and topography. Position your mat either on flat land or a slight incline towards you. Grass or soft ground is preferable to gravel or concrete. Fill your water bucket with fresh lake water and place it, along with your unhooking kit, within reach, next to the mat, soak your sling and tare (zero) the scales. Get your camera settings sorted ready to go. Although rare, it’s not impossible for your fish to jump out of the net so be on the lookout and put your mat inside if it’s particularly lively.

Have your kit and equipment ready before lifting the carp out of the water
3. Lift the fish out of the water
We’re now ready to remove the fish and the safest way to do this is in the sling. Remove the arms of the net, hold them together and start rolling them to gather the mesh. You’ll need to feel underneath the fish to ensure its pectoral fins are pointing back towards the tail, flush with its body, otherwise they’re likely to break when lifted. You’ll need to get low to the ground so don waterproofs if getting wet and muddy bothers you. If it is a big carp, which if you are on a carp fishing holiday in France is likely to be the case the get a mate or fellow angler to help you to lift the sling. Now work the fish and net into your sling, which is unzipped at one end and carefully close the zip to secure. Another check of the fins and you’re ready to lift. Do this slowly, letting any water drain out and take care not to bump your prize on any scaffold poles, wooden posts etc. Carry your fish low to the ground and lower gently onto the mat.

Ensure the carp fins are tucked into its side before lifting it in the weigh sling
4. Unhook the carp on the mat
Unhooking, if not already completed, should be done by pressing down firmly on the eye, towards the bend, popping the hook out. If it’s awkward or stubborn, use your forceps to provide a solid grip. A deeply embedded hook is best removed by pushing through having removed the eye with cutters. The rig needs to be put somewhere safe so it can’t interfere but can be located easily, afterwards. Inspect the mouth for any damage. The landing net can now be slid from under the fish, from head towards the tail to protect fins. Make note of any sores, cuts, abrasions, lifted scales or split fins. These will need treating but, as some liquids temporarily dye the flesh, we’ll do this after the photos.
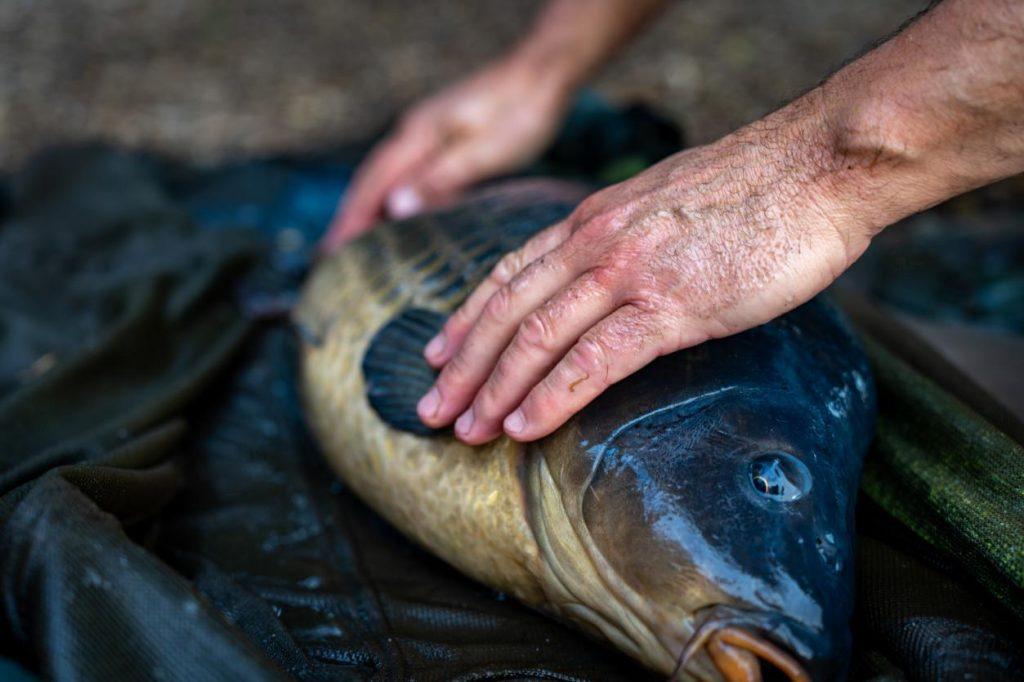
With your water container, ensure that the fish is wet at all times whilst on the bank.

5. Weigh the carp using the weigh sling
Once zipped up in the sling, you can weigh your catch, but make sure not to snag any fins. Another pectoral check is required before lifting until just off the mat.
6. Take those trophy shot photos
Lifting for the photos should be done confidently. Slide one hand under the fish’s head and down towards the pecs. Reach under and tuck your middle finger into the recess where the pectoral fin meets the body. It’s a bit like a carp’s armpit and you’ll know when you’re in the right spot as it seems made for the purpose. Your other hand goes under the other end of the carp around the anal fin.
Lift with the fish tilted slightly towards you and straighten up when in position, hold it low over the mat. You’ll find this more manageable if you use one knee for support, especially with big carp. The head end is heavier, so support this end and swap legs for the other side. If the fish flips, roll it back while simultaneously bending forward to cradle it against your chest and lower it back to the mat. Particularly lively specimens can be covered and secured with the mat’s retaining flap, to work off their excess energy. Once the pics are done treat any wounds with a generous dose of antiseptic to promote healing and protect against any infection.

The all important trophy shot
7. Returning the carp to the water
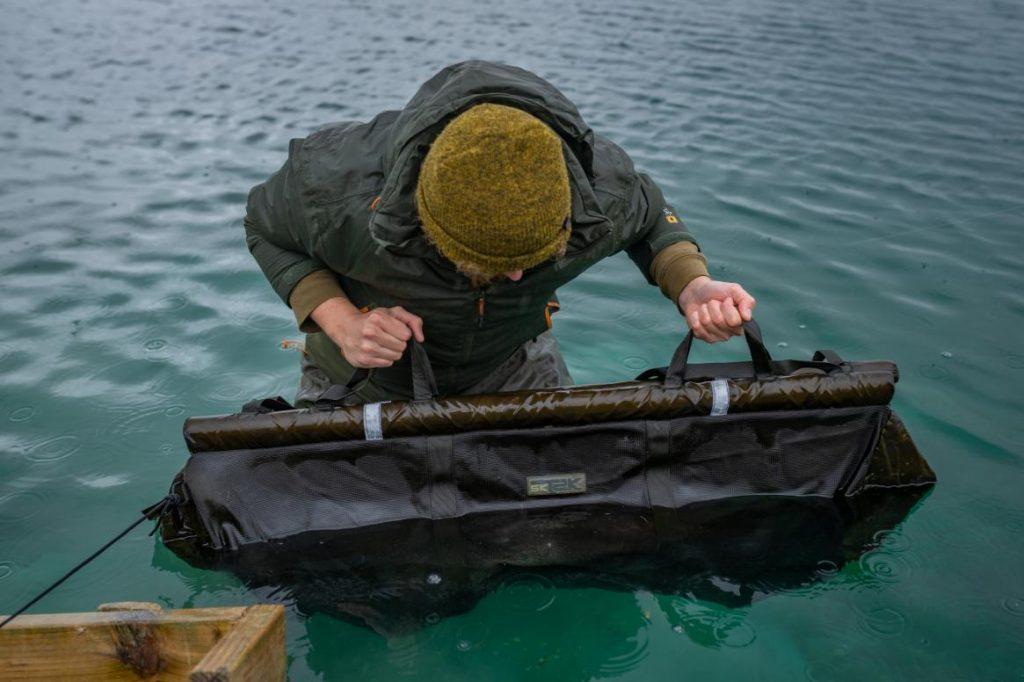
Returning your prize is one of the most enjoyable parts of the whole experience. Carry your fish back to the waterside in the zipped-up sling (don’t forget the pec check). Try and pick a bit of water that is free of weed and where you can get close to the water. Lower the sling into the water and allow the fish to acclimatise for a minute. It will be beneficial for it to get some oxygen into its blood before expending more energy swimming away. Open the sling, supporting the fish if necessary, and allow it to swim away when it is ready. Watch it as it swims off to ensure it is OK. A tired carp could get stuck in a dense bit of weed and some will sit and sulk for a while, so keep an eye on them until they have gone.
Most of this is down to a combination of common sense and organisation. Don’t be afraid to ask for help until you’ve got some carp handling experience under your belt and, once you have, try to be on hand to assist another lucky captor.
